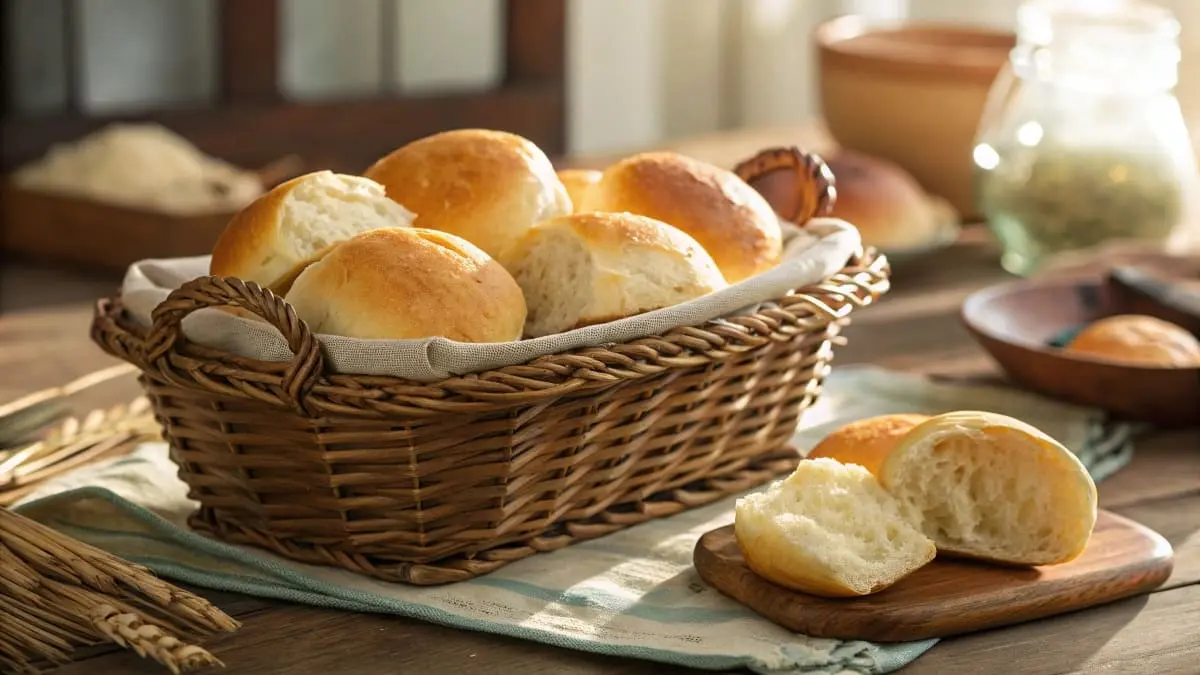
Best Gluten free dinner rolls Recipe (or Bread!) – Deliciously Soft & Easy!
Say Goodbye to Dense, Dry Gluten Free Rolls!
Are you tired of gluten free dinner rolls that are more like hockey pucks than soft, fluffy clouds of bread? Do you dream of sinking your teeth into a warm, tender roll that tastes good and doesn’t crumble into dust? If you’ve been disappointed by gluten-free rolls in the past, you’re not alone! Achieving that perfect soft texture in gluten-free baking, especially with rolls, can feel like chasing a unicorn.
But guess what? Your quest for the perfect gluten-free dinner roll ends here! This recipe is your secret weapon to creating easy gluten free dinner rolls (or bread!) that are truly deliciously soft and surprisingly simple to make. No more dense, dry, or disappointing rolls. Get ready to experience gluten-free baking success and enjoy warm, comforting rolls that everyone at your table will love – gluten-free or not!
Homemade gluten-free rolls are worth the (minimal!) effort. The aroma filling your kitchen, the warmth in your hands as you pull apart a freshly baked roll, and that first soft, flavorful bite – it’s an experience you just can’t get from store-bought versions. Let’s get baking!
Table of Contents
Why Gluten free dinner rolls? Everyone Deserves a Soft Roll!
Whether you follow a gluten-free diet due to celiac disease, non-celiac gluten sensitivity, or personal preference, there’s no reason to miss out on the simple pleasure of a soft, warm dinner roll. For many, avoiding gluten isn’t a choice, it’s a necessity for their health and well-being. Why go gluten-free in the first place? While these rolls are a delicious treat for everyone, for some, avoiding gluten is essential for health. Learn more about the broader benefits of a gluten-free diet and understand why so many people are choosing this lifestyle.
But even beyond dietary needs, let’s be honest – who doesn’t love a good dinner roll? They are a comforting classic, a simple pleasure that enhances any meal. They are perfect for:
- Soaking up delicious sauces and gravies.
- Serving alongside hearty soups and stews.
- Completing a holiday meal or special occasion feast.
- Simply enjoying warm with a pat of butter.
Everyone deserves to experience the joy of a soft, comforting dinner roll, regardless of dietary restrictions. And with this easy gluten-free recipe, that’s exactly what you can achieve!
The Secret to Soft & Delicious Gluten-Free Rolls: It’s All About Technique & Ingredients
Gluten-free baking, especially when it comes to bread and rolls, can feel like a bit of a science experiment. Unlike traditional wheat-based dough, gluten-free dough behaves differently. It lacks gluten, the protein that provides structure, elasticity, and that characteristic chewiness we associate with bread. Baking soft and delicious gluten free dinner rolls isn’t about magic, it’s about understanding the key ingredients and techniques that mimic gluten’s role and create that desirable texture.
The success of this recipe hinges on a few crucial elements:
- Using the right gluten-free flour blend: Not all blends are created equal, especially for rolls.
- Employing binders: Xanthan gum and psyllium husk are your texture superheroes.
- Harnessing the power of yeast: Yes, yeast is still essential for lightness and rise!
- Ensuring proper hydration: Gluten-free flours need the right amount of moisture.
Let’s break down each of these key ingredients and techniques to unlock the secrets to perfect gluten free dinner rolls (or bread!).
Key Ingredients for Gluten-Free Dinner Roll Success
The Right Gluten-Free Flour Blend is Crucial:
Forget the idea that you can just swap wheat flour for any gluten-free flour and expect perfect rolls. For gluten-free baking, especially for delicate textures like dinner rolls, the gluten-free flour blend you choose is paramount. A single gluten-free flour, like almond flour or coconut flour, simply won’t cut it for achieving that classic roll texture.
The ideal gluten-free flour blend for rolls is usually a combination of:
- Rice Flour (White or Brown): Provides a neutral base and structure.
- Tapioca Starch (or Tapioca Flour): Adds chewiness and helps with binding.
- Potato Starch: Contributes to softness and lightness.
- Sorghum Flour (optional): Can add a slightly nutty flavor and improve texture.
You can create your custom blend by combining these flours in the right ratios. However, for ease and consistent results, especially for beginners, using a pre-made gluten-free all-purpose flour blend is highly recommended. Look for blends that are specifically designed for baking and mention being suitable for bread or yeast-based recipes.
Kitchen Tip: If using a pre-made blend, check the ingredient list to see if it already contains xanthan gum. Many good quality blends include it. If your blend doesn’t contain xanthan gum, you’ll need to add it separately to the recipe for the best texture.
Binders: Xanthan Gum & Psyllium Husk – Your Texture Allies:
In wheat baking, gluten is the protein that acts as a binder, providing structure, and elasticity, and preventing baked goods from crumbling. Since gluten is absent in gluten-free baking, we need to use substitutes – binders – to mimic its role.
Xanthan gum and psyllium husk are two of the most common and effective binders in gluten-free baking, and they are essential for achieving the right texture in gluten free dinner rolls.
- Xanthan Gum: A polysaccharide (a type of sugar) produced by fermentation. It acts as a stabilizer and thickener, adding elasticity and chewiness to gluten-free dough. It helps prevent rolls from being crumbly and gives them a more bread-like texture.
- Psyllium Husk: A soluble fiber derived from the seeds of the Plantago ovata plant. It absorbs water and forms a gel, adding structure and moisture to gluten-free baked goods. Some bakers find psyllium husk helps create a slightly softer, less “gummy” texture compared to using xanthan gum alone, and it can also improve the rise of gluten-free dough. This recipe includes a small amount of psyllium husk for enhanced texture, but it is optional if you only have xanthan gum on hand.
Using the right amount of binders is key. Too little, and your rolls might be crumbly. Too much, and they could become dense or gummy. Follow the recipe measurements carefully for the best results.
Yeast: The Magic for Rise & Lightness:
Don’t let the “gluten-free” part fool you – yeast is still essential for achieving light, airy, and fluffy dinner rolls! Yeast is what makes bread rise, creating those wonderful air pockets that give rolls their lightness and texture.
You can use either active dry yeast or instant yeast in this recipe.
- Active Dry Yeast: Needs to be “activated” or “proofed” in warm liquid (usually water or milk) with a bit of sugar before being added to the dry ingredients. This step ensures the yeast is alive and active.
- Instant Yeast (or Rapid Rise Yeast): This can be added directly to the dry ingredients without proofing. It generally works a bit faster than active dry yeast.
This recipe uses active dry yeast and includes a proofing step to ensure it’s activated and ready to work its magic. A warm environment is crucial for proofing gluten-free dough and for the dough to rise properly. Gluten-free dough often rises a bit slower than wheat dough, so patience is key!
Moisture is Key: Hydration for Softness:
Gluten-free flours tend to be drier than wheat flour and can absorb more liquid. Adequate hydration is crucial for achieving soft, tender gluten free dinner rolls. If the dough is too dry, the rolls will be dense and crumbly.
This recipe includes a generous amount of liquid, primarily warm milk (dairy or non-dairy), to ensure the dough has enough moisture. Some recipes also use other ingredients to boost moisture, such as:
- Oil or Melted Butter: Adds richness and moisture.
- Eggs: Contribute to moisture, binding, and structure.
- Yogurt or Sour Cream: Can add tang and moisture (though not used in this specific recipe for simplicity).
The dough for these gluten free dinner rolls will be softer and stickier than traditional wheat dough. This is normal and contributes to the final soft texture of the rolls. Don’t be tempted to add too much extra flour to make it less sticky – trust the recipe and embrace the slightly wetter dough!
Let’s Bake! The Best Easy Gluten free dinner rolls Recipe (or Bread!)
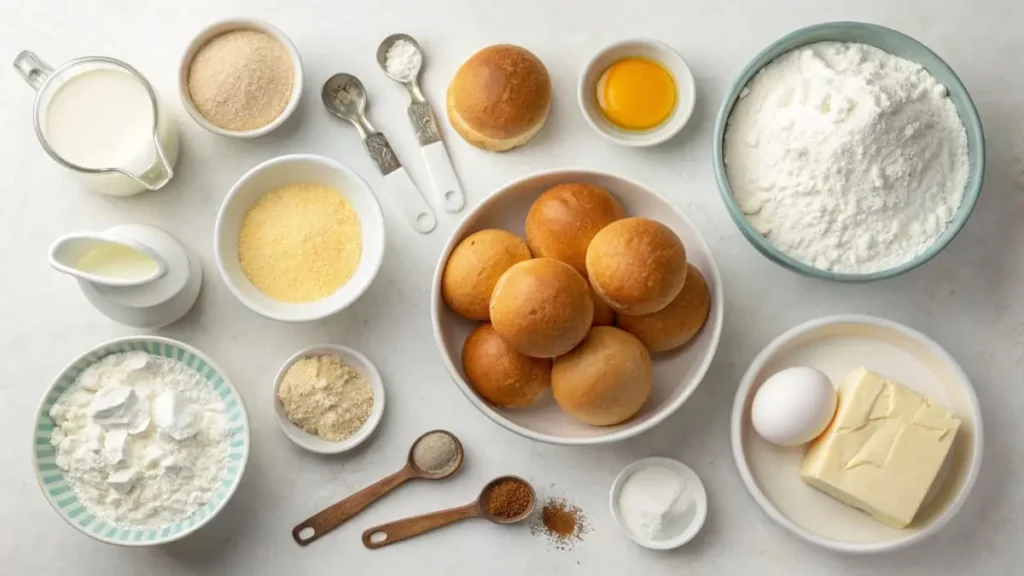
Get ready to bake some truly amazing gluten free dinner rolls! Here’s the recipe, with both weight and volume measurements for your convenience:
Ingredients:
- Gluten-Free All-Purpose Flour Blend (with or without xanthan gum): 300g (2 ½ cups)
- Active Dry Yeast: 7g (2 ¼ teaspoons)
- Granulated Sugar: 20g (1 tablespoon)
- Salt: 5g (1 teaspoon)
- Xanthan Gum (if not already in your flour blend): 3g (1 teaspoon)
- Psyllium Husk Powder (optional, for enhanced texture): 2g (¾ teaspoon)
- Warm Milk (dairy or non-dairy, about 100-110°F/38-43°C): 240ml (1 cup)
- Large Egg (lightly beaten, optional, for richer rolls): 1 (approx. 50g)
- Vegetable Oil (or melted unsalted butter, cooled slightly): 30ml (2 tablespoons)
- Melted Butter (for brushing tops, optional): 15g (1 tablespoon)
Instructions:
- Activate the Yeast: In a small bowl, combine warm milk and sugar. Sprinkle active dry yeast over the top. Let stand for 5-10 minutes or until foamy. This indicates the yeast is active. If using instant yeast, you can skip this step and add it directly to the dry ingredients.
- Combine Dry Ingredients: In a large mixing bowl, whisk together gluten-free all-purpose flour blend, salt, xanthan gum (if using), and psyllium husk (if using).
- Combine Wet Ingredients: If using an egg, lightly beat it in a separate small bowl. Add vegetable oil (or melted butter) to the egg (if using). If not using egg, simply have the oil/butter ready.
- Mix Dough: Make a well in the center of the dry ingredients. Pour in the yeast mixture and the egg/oil mixture (or just oil if not using egg). Using a stand mixer with a dough hook or mixing by hand with a spatula or wooden spoon, mix until just combined. The dough will be soft, sticky, and somewhat wet – this is normal. Do not overmix.
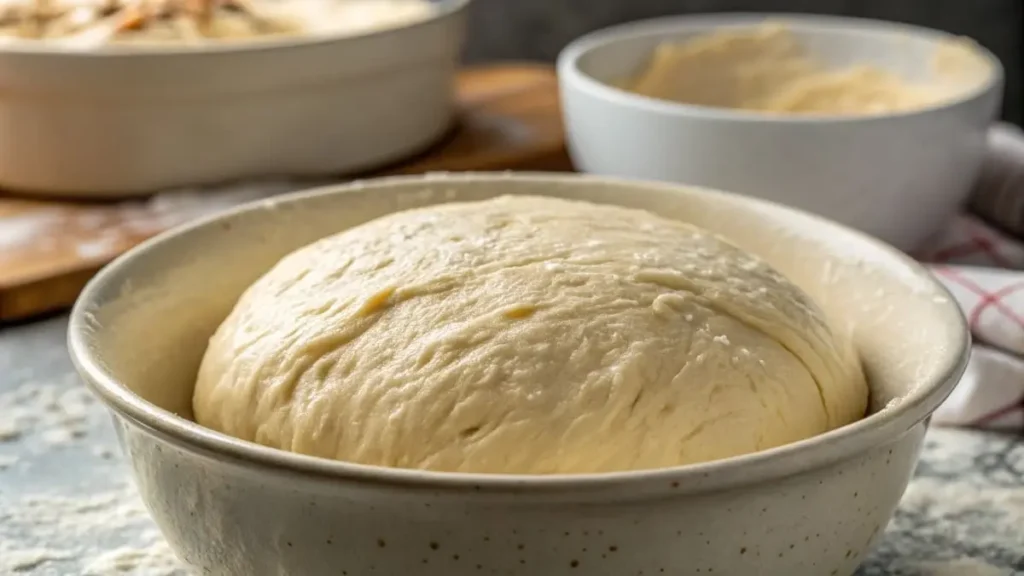
- First Proof (Rise): Cover the bowl with plastic wrap or a clean kitchen towel. Place in a warm place (e.g., a slightly warm oven, or a warm spot in your kitchen) and let rise for 60-90 minutes, or until roughly doubled in size. Gluten-free dough may not double as dramatically as wheat dough, but it should become noticeably puffy.
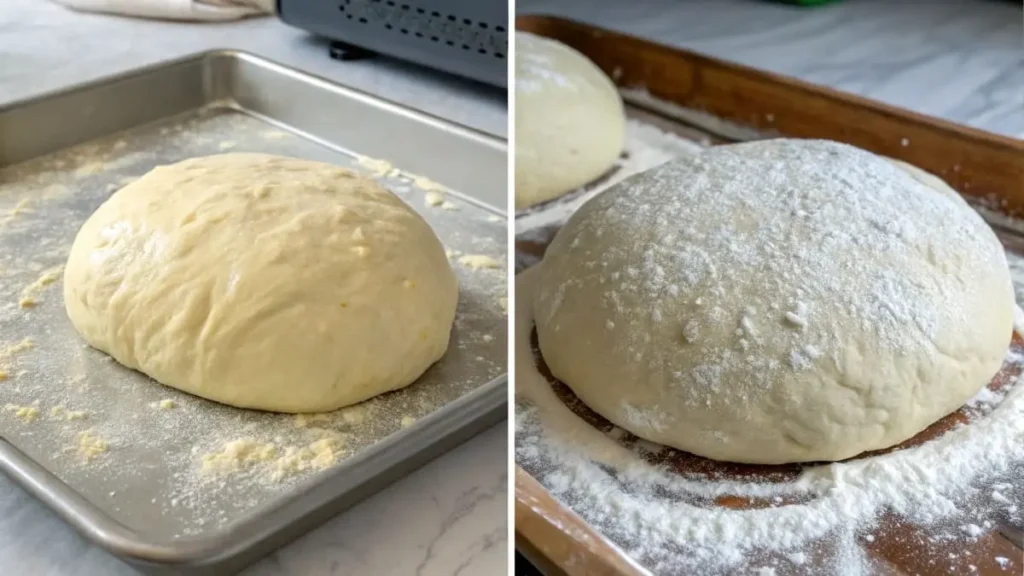
- Shape the Rolls: Gently punch down the dough (to release air). Lightly flour your hands and a clean work surface with gluten-free flour. Turn the dough out onto the floured surface. Divide the dough into 8-12 equal portions (depending on desired roll size). Shape each portion into a round roll by gently tucking the edges underneath to create a smooth top. You can also shape them into knots or other roll shapes if desired.
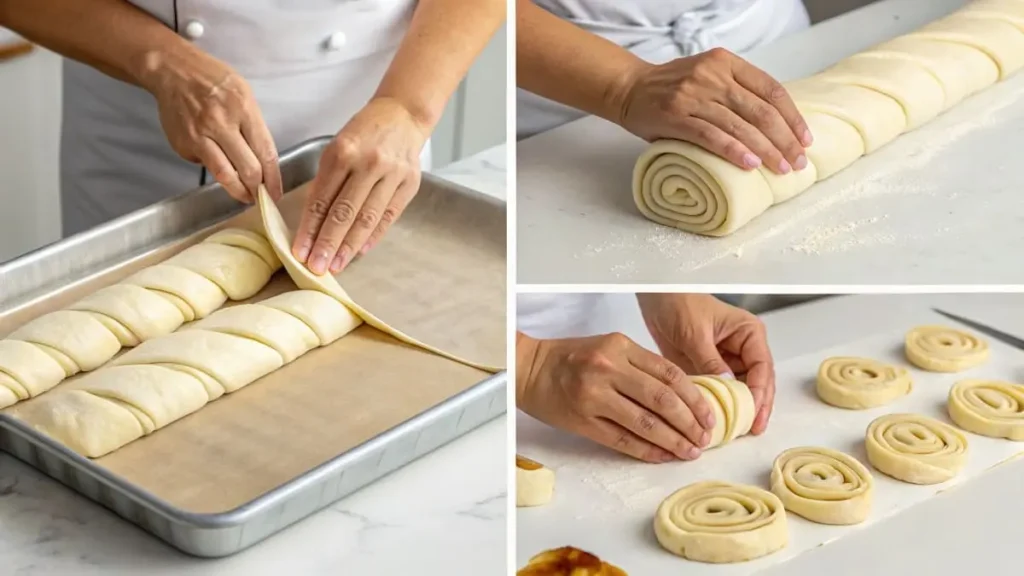
- Second Proof (Rise): Place the shaped rolls on a parchment-lined baking sheet, leaving some space between them for expansion. Cover loosely with plastic wrap or a clean kitchen towel. Let rise in a warm place for another 30-45 minutes, or until noticeably puffy and slightly increased in size.
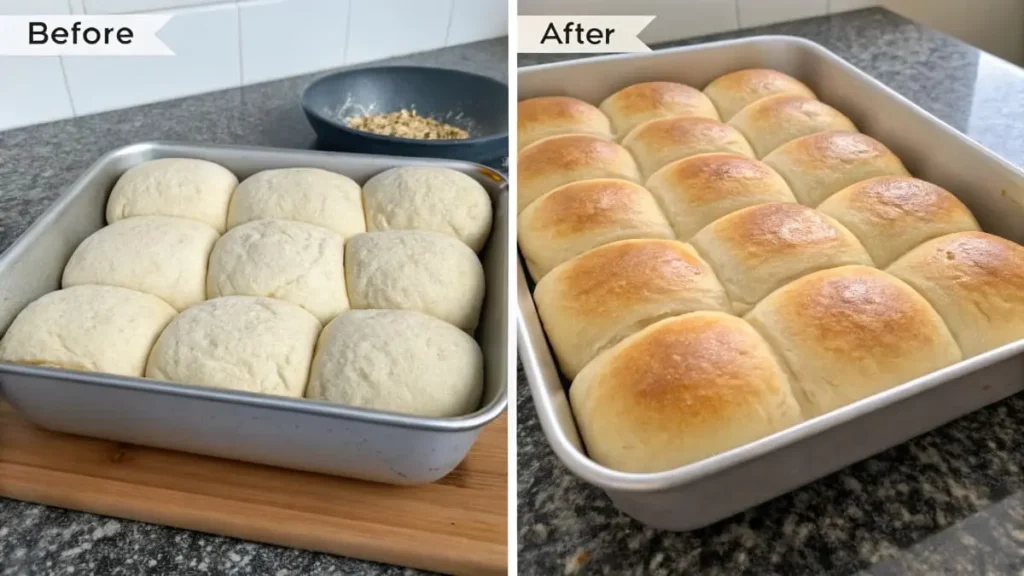
- Bake: Preheat oven to 375°F (190°C). Bake for 18-22 minutes, or until the rolls are golden brown on top and sound hollow when tapped on the bottom. The internal temperature should reach around 200-210°F (93-99°C) for optimal doneness if you have a thermometer.
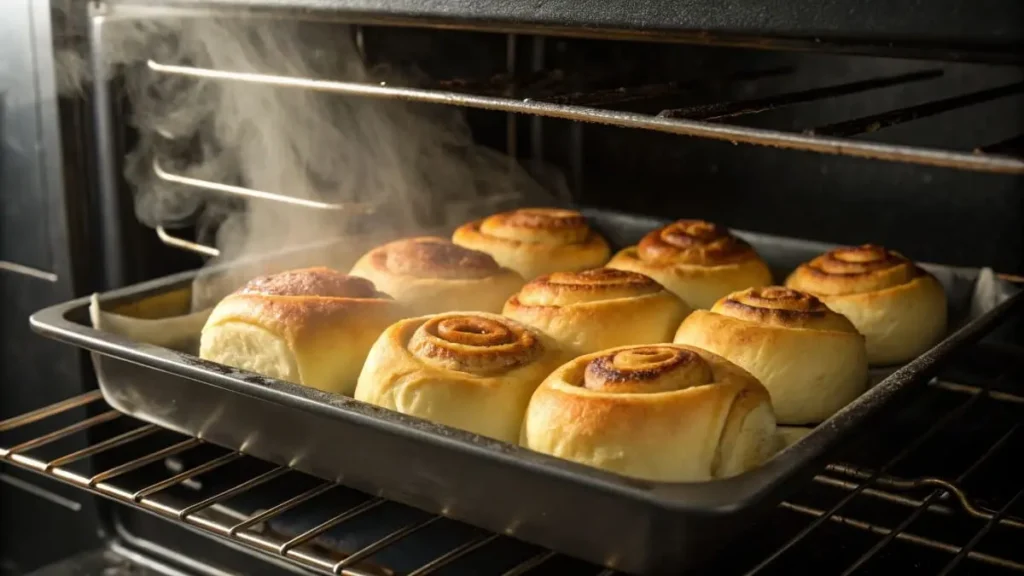
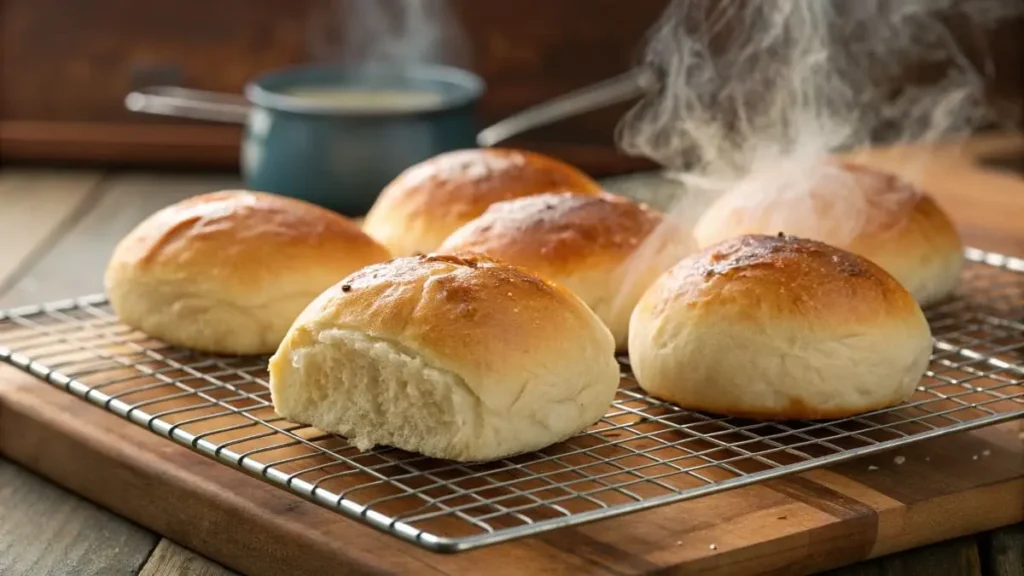
- Cool and Serve: Remove from oven and let cool on the baking sheet for a few minutes before transferring to a wire rack to cool slightly. Brush tops with melted butter (optional) while warm for extra flavor and shine. Serve warm and enjoy!
Tips for Baking Perfect Gluten free dinner rolls Every Time
Measure Ingredients Accurately (Especially Flour!):
In gluten-free baking, precision is key, and accurate measurement of ingredients, especially flour, is crucial for success. Volume measurements (cups, tablespoons) can be inconsistent depending on how you scoop and measure flour. Using weight measurements (grams, ounces) with a kitchen scale is highly recommended for gluten-free recipes, especially for bread and rolls. It ensures consistent results every time you bake. If you must use volume measurements, lightly spoon flour into measuring cups and level off the top – do not scoop directly from the bag, as this can pack the flour and lead to using too much.
Don’t Overmix the Dough:
Unlike wheat dough, gluten-free dough doesn’t benefit from extensive kneading. Overmixing can make gluten-free rolls tougher. Mix the dough just until the ingredients are combined and no dry flour streaks remain. A slightly lumpy dough is perfectly fine. Trust the process – the dough will smooth out during proofing.
Proofing Patience is Key:
Gluten-free dough often rises slower than traditional wheat dough. Don’t rush the proofing process! Patience is key to allowing the yeast to do its work and develop a light and airy texture. Ensure your dough is proofing in a warm, draft-free environment to encourage rising. Look for visual cues like the dough doubling in size (or becoming noticeably puffy) and having a slightly airy appearance before shaping and baking.
Oven Temperature & Baking Time – Watch Closely:
Oven temperatures can vary, and gluten-free baked goods can sometimes brown faster than wheat-based ones. The recipe provides a recommended oven temperature and baking time as a starting point. However, it’s essential to watch your rolls closely towards the end of the baking time. Check for doneness using visual cues – they should be golden brown on top and sound hollow when tapped lightly on the bottom. Avoid overbaking, as this can lead to dry rolls.
Cool Completely (or Almost) Before Serving:
Resist the temptation to slice into those warm rolls immediately from the oven! Gluten-free baked goods, including dinner rolls, often benefit from cooling slightly to allow their texture to set. Cooling them on a wire rack also prevents the bottoms from becoming soggy. While they are best enjoyed warm, letting them cool for at least 10-15 minutes after baking will improve their texture and make them easier to handle.
Turning Your Rolls into Gluten-Free Bread (Loaf Pan Option)
Want to make a loaf of gluten-free bread instead of rolls? You can use this same dough!
Shaping for a Loaf:
After the first proof, gently punch down the dough. Shape it into a log or oval shape that will fit into a standard 9×5 inch loaf pan. Grease and gluten-free flour (or parchment line) in your loaf pan. Place the shaped dough into the prepared pan. (Image Suggestion: Image showing how to shape the dough into a loaf and place it in a loaf pan.)
Proofing & Baking Time Adjustments for Bread:
The second proof for a loaf will likely be slightly longer than for rolls, around 45-60 minutes, or until the dough is puffy and risen almost to the top of the loaf pan. Baking time for a loaf will also be longer than for rolls, typically around 30-40 minutes, or until the loaf is golden brown and sounds hollow when tapped on the bottom. Use a thermometer to ensure the internal temperature reaches 200-210°F (93-99°C).
Simple table comparing the baking time for Rolls vs. Bread Loaf
| Format | Baking Time | Visual Cues |
| Dinner Rolls | 18-22 minutes | Golden brown, hollow sound when tapped |
| Bread Loaf | 30-40 minutes | Golden brown, hollow sound, internal temp 200-210°F |
Serving Suggestions & Delicious Variations
Serving Ideas for Gluten free dinner rolls:
These gluten free dinner rolls are incredibly versatile! Enjoy them in countless ways:
- Classic with Butter: The simplest and most satisfying way – serve them warm with a pat of softened butter, ghee, or dairy-free butter alternative.
- Alongside Soups and Stews: Perfect for dipping into hearty soups like gluten-free lentil soup or creamy tomato soup, and for soaking up flavorful stews and chili. These soft and delicious gluten free dinner rolls are the perfect accompaniment to so many meals! Looking for inspiration for what to serve them with? Explore a variety of Easy Gluten-Free Dinner Recipes to create a complete and satisfying gluten-free feast.
- With Salads and Main Courses: Serve them as a side to your favorite salads, roasted chicken, grilled fish, or vegetarian main dishes.
- For Sandwiches or Sliders: Slice the rolls in half horizontally and use them to make mini sandwiches or sliders. While these rolls are fantastic on their own, they can also be versatile! If you’re looking for more gluten-free lunch ideas and want to explore options beyond traditional sandwiches, you might find inspiration in these 15 Best Gluten-Free Sandwich Recipes (No Bread).
- Flavored Butter: Elevate your rolls with flavored butter! Try garlic herb butter, honey cinnamon butter, or roasted red pepper butter for a special touch.
Flavor Variations to Spice Things Up:
Once you master the basic recipe, get creative with flavor variations!
- Garlic & Herb Rolls: Add 2-3 cloves of minced garlic and 1-2 tablespoons of chopped fresh herbs (rosemary, thyme, parsley, chives) to the dough before the first proof.
- Cheesy Rolls: Stir in ½ cup of shredded cheese (cheddar, Monterey Jack, Parmesan) into the dough or sprinkle shredded cheese on top of the rolls before the second proof and baking.
- Sweet Cinnamon Rolls (Adaptation): While this recipe is for savory dinner rolls, the base dough can be adapted to make cinnamon rolls! You would need to increase the sugar in the dough, add a cinnamon-sugar filling, and top with a glaze after baking. (Consider linking to a separate gluten-free cinnamon roll recipe here if you have one on your site).
Troubleshooting: What If My Gluten-Free Rolls Aren’t Perfect?
Gluten-free baking has a learning curve, and sometimes rolls don’t turn out exactly as planned. Here’s a little troubleshooting guide:
Rolls are Dense or Gummy:
- Possible Causes:
- Too much binder (xanthan gum or psyllium husk): Binders are powerful! Using too much can lead to a dense, gummy texture.
- Not enough proofing: If the dough isn’t allowed to be proven for long enough, it won’t develop enough airiness.
- Overmixing: Overmixing can sometimes contribute to a denser texture in gluten-free baking.
- Solutions:
- Measure binders very carefully: Use accurate measurements (preferably weight).
- Ensure adequate proofing time: Allow the dough to proof fully in a warm place, even if it takes a little longer than the recipe suggests.
- Mix gently: Mix just until combined, avoid overmixing.
Rolls are Dry or Crumbly:
- Possible Causes:
- Too little moisture in the dough: Gluten-free flours are thirsty! Not enough liquid can result in dry rolls.
- Overbaking: Baking for too long will dry out the rolls.
- Too much flour: Using too much flour, especially if measuring by volume, can lead to a dry dough.
- Solutions:
- Double-check liquid measurements: Ensure you’ve added the correct amount of liquid as per the recipe.
- Don’t overbake: Watch the rolls closely and remove them from the oven when they are golden brown and sound hollow.
- Measure flour by weight: For consistent results, use weight measurements for flour.
Rolls Didn’t Rise Properly:
- Possible Causes:
- Inactive Yeast: Yeast can expire or become inactive if not stored properly.
- Yeast not properly proofed: If using active dry yeast, the proofing step is crucial. If it doesn’t foam, it might be inactive.
- Dough not proofed in a warm enough environment: Yeast needs warmth to activate and produce gas for rising.
- Expired Yeast: Check the expiration date on your yeast package.
- Solutions:
- Check yeast freshness: Use fresh yeast that is within its expiration date.
- Proof yeast correctly: Ensure the milk/water is warm (not hot) for proofing active dry yeast.
- Provide a warm-proofing environment: A slightly warm oven (turned off), a warm spot in your kitchen, or even placing the bowl in a warm water bath can help.
- Try again with a fresh yeast batch: If you suspect your yeast is the problem, start again with a fresh batch of yeast.
FAQ:
Q: Can I make these gluten free dinner rolls ahead of time?
- A: Yes, you can bake these gluten free dinner rolls ahead of time. For best results, bake them the day you plan to serve them. Store cooled rolls in an airtight container at room temperature for up to 2 days or in the freezer for longer storage (up to 1 month).
Q: What’s the best way to reheat gluten free dinner rolls?
- A: To reheat gluten free dinner rolls, wrap them loosely in foil and warm them in a preheated oven at 350°F (175°C) for about 5-10 minutes, or until heated through and softened. You can also microwave them briefly (about 10-20 seconds per roll), but they may become slightly less soft.
Q: Can I substitute ingredients in this gluten-free dinner roll recipe?
- A: While minor substitutions might be possible, it’s generally recommended to follow the recipe as written, especially when you are new to gluten-free baking. Gluten-free baking is sensitive to ingredient ratios. If you want to experiment, start with small changes in future batches once you’ve successfully made the recipe as is. For dairy-free milk, unsweetened almond milk or oat milk works well. For egg-free, you can try a flax egg (1 tbsp flaxseed meal + 3 tbsp water, let sit to thicken) although texture may be slightly affected.
Q: My gluten-free bread (loaf) is sinking in the middle, what did I do wrong?
- A: A sinking middle in a gluten-free bread loaf can be due to several factors: underbaking (loaf not fully set), too much liquid in the dough, or sometimes, over-proofing (though less common with gluten-free). Ensure you bake the loaf until it’s fully cooked through (internal temperature of 200-210°F) and follow the recipe liquid measurements carefully.
Q: Can I make these gluten free dinner rolls dairy-free/egg-free?
- A: Yes, with some adjustments! You can easily make these rolls dairy-free by using a plant-based milk alternative like unsweetened almond milk, soy milk, or oat milk. Making them egg-free is also possible by omitting the egg. The recipe is still successful without the egg, although the rolls might be slightly less rich and slightly less structured. You can try adding an extra tablespoon of oil or melted dairy-free butter to compensate for the fat from the egg if desired.
Conclusion: Bake & Enjoy the Best Gluten free dinner rolls (or Bread!)
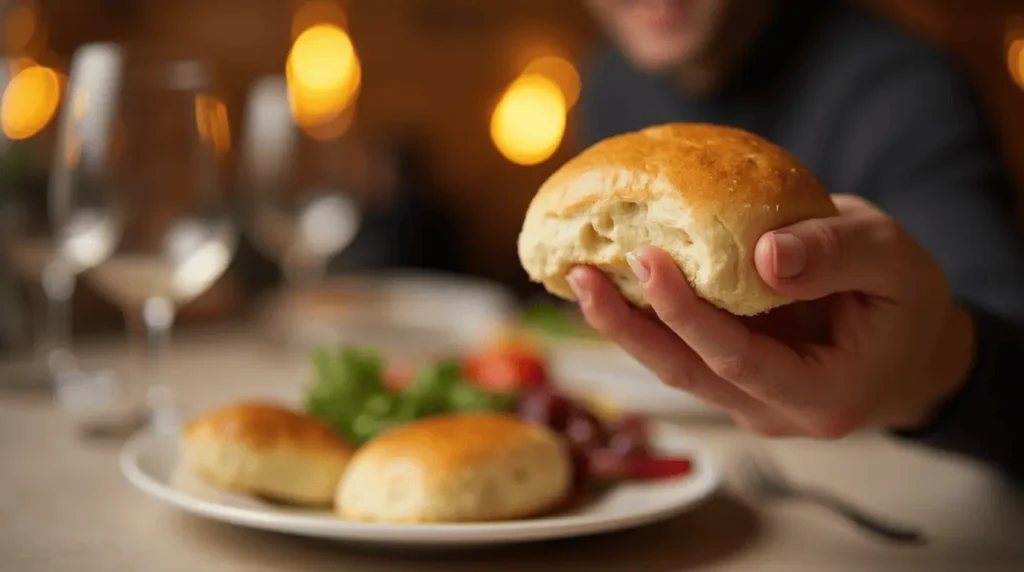
Congratulations! You’re now equipped with the recipe and knowledge to bake truly delicious and easy gluten free dinner rolls (or bread!). Say goodbye to disappointing, dense gluten-free rolls and hello to warm, soft, and flavorful perfection.
Don’t be intimidated by gluten-free baking – with this recipe and a little practice, you’ll be amazed at what you can create. Embrace the joy of homemade bread, the satisfaction of sharing warm rolls with loved ones, and the delight of enjoying gluten free dinner rolls that are every bit as good as (or even better than!) the traditional kind.
So, preheat your oven, gather your ingredients, and get ready to bake! We hope you love these best gluten free dinner roll recipes (or bread!) and that they become a staple in your gluten-free kitchen. Happy baking, and more importantly, happy eating!

