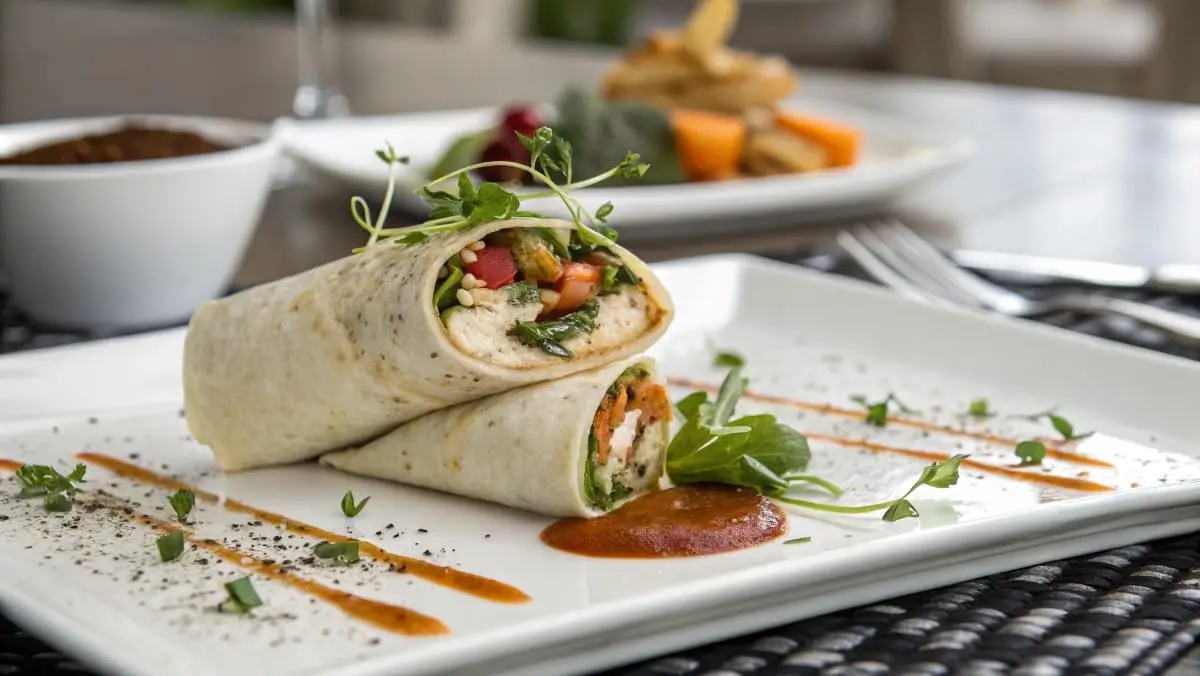
Make Amazing Gluten Free Wraps: Chef-Approved Tips & Recipes
Beyond Gluten – Embracing Delicious & Versatile Wraps
For years, wraps have been a go-to for quick lunches, light dinners, and portable snacks. Their versatility is undeniable – you can fill them with just about anything, from savory meats and cheeses to fresh veggies and creamy spreads. But if you’re living a gluten-free lifestyle, you might have felt like you were missing out on this convenient and delicious food format. Traditional wraps, made with wheat flour, are off the menu. Or are they?
Welcome to the exciting world of gluten free wraps! Gone are the days of limited options and flavorless substitutes. Today, with the right techniques and ingredients, you can easily make amazing gluten free wraps that are not only healthy and diet-friendly but also incredibly delicious and satisfying. Whether you’re gluten-free by necessity or by choice, you deserve wraps that are just as good, if not better, than their wheat-based counterparts.
Table of Contents
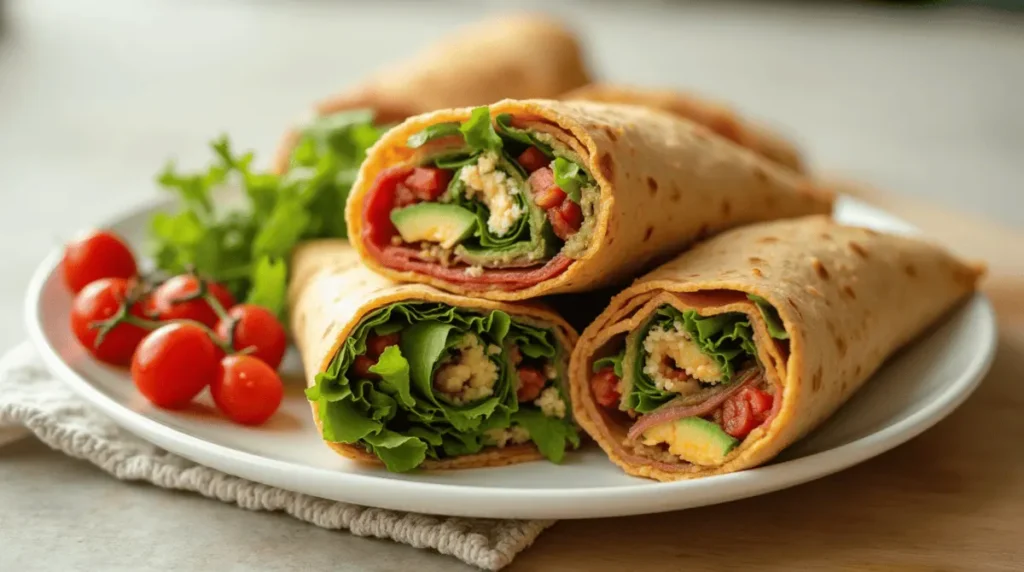
The Rise of Gluten-Free: Why Wraps Need a Gluten-Free Makeover
The demand for gluten-free options has exploded in recent years, and for good reason. More and more people are discovering the benefits of reducing or eliminating gluten from their diets. Whether it’s due to celiac disease, gluten sensitivity, or simply a desire to eat healthier, the gluten-free movement is here to stay.
Wraps, as a staple food item, naturally needed to adapt. The good news is that culinary innovation has risen to the challenge! We now have a wide array of gluten-free flours and techniques that allow us to create gluten free wraps that rival traditional wraps in taste and texture. No longer do gluten-free eaters have to sacrifice convenience or flavor when it comes to wraps. It’s time to embrace the delicious possibilities of making amazing gluten-free wraps at home.
Why Gluten-Free Wraps? Benefits for Health & Diet
Choosing gluten free wraps offers a range of benefits, whether you are strictly gluten-free or simply looking for healthier alternatives:
- Digestive Health: For those with celiac disease or gluten sensitivity, gluten free wraps are essential for avoiding uncomfortable digestive symptoms and promoting gut health.
- Increased Energy: Many people report feeling more energetic and less sluggish when they reduce or eliminate gluten from their diet. Gluten free wraps, as part of a gluten-free lifestyle, can contribute to this improved energy.
- Nutrient Variety: Exploring gluten free wraps encourages you to experiment with different flours like almond flour, cassava flour, and oat flour, which can offer unique nutritional benefits compared to wheat flour.
- Dietary Diversity: Making gluten free wraps opens up a world of culinary creativity and allows for greater dietary diversity. You can enjoy wraps again without compromising your gluten-free needs.
- Lighter Feeling: Many find that gluten free wraps, especially those made with lighter flours, can feel less heavy and more easily digestible than traditional wheat wraps.
Chef’s Promise: Crafting Gluten-Free Wraps That Are Actually Amazing!
As a chef, I understand the importance of both taste and dietary needs. My promise to you is that we can make amazing gluten-free wraps that are not just “good for gluten-free” but genuinely delicious in their own right. We’ll move beyond bland and brittle wraps and delve into techniques and recipes that deliver:
- Soft and Flexible Texture: No more wraps that crack and crumble! We’ll achieve wraps that bend and fold beautifully.
- Delicious Flavor: Gluten free wraps can be flavorful! We’ll explore recipes that highlight the natural flavors of gluten-free flours or complement savory and sweet fillings.
- Versatility: From breakfast to dessert, wraps should be adaptable. We’ll cover recipes and filling ideas for every meal and craving.
- Easy to Make at Home: Making gluten free wraps doesn’t have to be complicated. We’ll focus on simple, chef-approved techniques that you can master in your kitchen.
Get ready to be amazed by just how delicious and satisfying gluten free wraps can be!
Understanding Gluten & Gluten-Free Baking for Wraps
To truly master making amazing gluten-free wraps, it’s helpful to understand a bit about gluten and how gluten-free baking differs from traditional wheat-based baking.
What is Gluten Anyway? A Simple Explanation
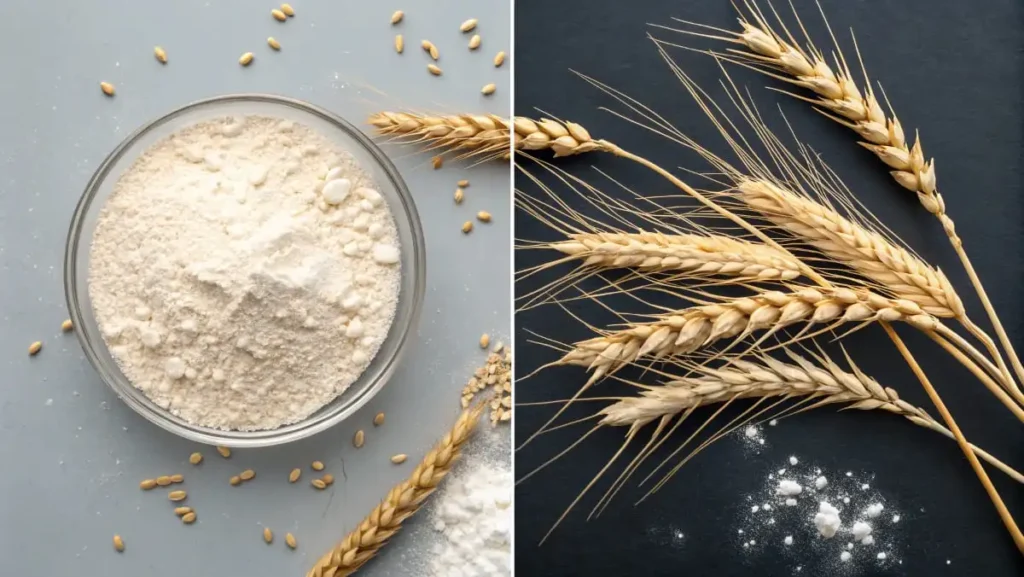
Gluten is a protein composite found in wheat, rye, and barley. Think of it as the “glue” that holds baked goods together and gives them their characteristic stretchy, chewy texture. When wheat flour is mixed with water and kneaded, gluten develops, forming long, elastic strands. These strands trap gases produced by yeast (or baking powder/soda), causing dough to rise and become light and airy.
In traditional wraps and flatbreads, gluten provides the essential elasticity and structure that allows them to be rolled thin, cooked quickly, and folded without tearing.
The Challenges of Gluten Free Wraps: Texture, Flexibility, and Taste
When we remove gluten, we remove that essential “glue” and elasticity. This presents several challenges when making gluten free wraps:
- Texture: Gluten-free dough can be naturally more crumbly, dry, or gritty compared to wheat dough. Achieving a soft and pliable texture in gluten free wraps requires careful ingredient selection and techniques.
- Flexibility: Without gluten’s elasticity, gluten free wraps can be prone to tearing or cracking when rolled thin or folded. Creating wraps that are flexible enough to hold fillings without breaking is a key challenge.
- Taste: Some gluten-free flours can have distinct flavors that are different from wheat flour. Finding the right flour blends and balancing flavors is important to ensure gluten free wraps taste delicious and not “off.”
- Rise (or Lack Thereof): While wraps aren’t typically leavened like bread, gluten contributes to a certain lightness. Gluten free wraps can sometimes be denser if not made correctly.
Key Gluten-Free Flours & Binders for Wrap Success
The secret to making amazing gluten free wraps lies in understanding and utilizing the properties of different gluten-free flours and binders. Here are some key players:
Gluten-Free Flour Options for Wraps
| Flour Type | Properties | Best Uses in Wraps | Notes |
| Rice Flour (White or Brown) | Mild flavor, slightly grainy texture, readily available | Base flour for blends, provides structure, good for neutral-tasting wraps | White rice flour is finer, brown rice flour adds a slightly nutty flavor and more fiber. |
| Tapioca Starch (or Flour) | Very fine, adds chewiness and elasticity, helps bind ingredients, slightly sweet | Essential for flexibility and preventing wraps from being brittle, often used in blends | Use in moderation, too much can make wraps gummy. |
| Cassava Flour | Mild, slightly nutty flavor, good source of fiber, grain-free, paleo-friendly | Excellent for soft and flexible wraps, works well as a primary flour, good for grain-free diets | Can be slightly absorbent, adjust liquid accordingly. Not the same as tapioca starch (cassava starch). |
| Almond Flour | Nutty flavor, high in protein and healthy fats, low-carb, keto-friendly | Creates heartier, slightly denser wraps, good for keto and low-carb diets, adds richness | Can be more crumbly than other flours, often needs binders, cook at lower temperatures to prevent burning. |
| Coconut Flour | Slightly sweet coconut flavor, very absorbent, high in fiber, low-carb, keto-friendly | Best used in small amounts in blends, adds a hint of sweetness, can be used for keto and low-carb wraps | Very absorbent, requires a lot of liquid and eggs/binders, can be dry if not balanced correctly. |
| Oat Flour (Certified Gluten-Free) | Mildly sweet, slightly nutty flavor, good source of fiber, adds softness | Can be used as a base flour or in blends, provides a slightly heartier texture, use certified gluten-free oats for celiacs | Ensure it is certified gluten-free to avoid cross-contamination for those with celiac disease. |
Essential Ingredients Beyond Flour: Binders, Liquids, and Fats
Beyond gluten-free flours, other ingredients play crucial roles in making amazing gluten-free wraps:
- Binders: Since gluten is missing, we need other binders to help hold the dough together. Common binders include:
- Xanthan Gum: A powerful binder, adds elasticity and structure, essential for many gluten-free recipes. Use sparingly, too much can make things gummy.
- Guar Gum: Similar to xanthan gum, another effective binder.
- Psyllium Husk: Adds fiber and helps bind, can be used in powder or whole husk form.
- Flaxseed Meal (Flax Egg): Ground flaxseeds mixed with water create a gel-like binder, adds nutrients and a slightly nutty flavor.
- Chia Seeds (Chia Egg): Similar to flaxseed meal, chia seeds mixed with water also create a gel binder.
- Liquids: Water, milk (dairy or non-dairy), or even vegetable broth can be used to hydrate the flours and create the dough. The type and amount of liquid are crucial for achieving the right consistency.
- Fats: Adding a little fat, like olive oil, avocado oil, coconut oil, or even melted butter or ghee, contributes to tenderness, flavor, and flexibility in gluten free wraps.
By understanding the roles of these ingredients and how they interact, you’ll be well on your way to making incredible gluten-free wraps at home.
Chef-Approved Tips for Making Incredible Gluten-Free Wraps at Home
Now, let’s dive into practical chef-approved tips to ensure your homemade gluten free wraps are a success!
Tip 1: Mastering the Gluten-Free Flour Blend: Ratios & Combinations
The right flour blend is the foundation of amazing gluten free wraps. Experiment with different combinations to find your favorites, but here are some starting points:
- Basic Versatile Blend (for neutral wraps):
- 1 part White Rice Flour
- 1 part Tapioca Starch
- A pinch of xanthan gum (about ½ tsp per cup of flour blend)
- Softer, More Flexible Blend (for delicate wraps):
- 1 part Cassava Flour
- ½ part Tapioca Starch
- A pinch of xanthan gum
- Heartier, Nutty Blend (for savory wraps):
- 1 part Almond Flour
- ¼ part Tapioca Starch
- ¼ part Oat Flour (Certified Gluten-Free)
- A pinch of xanthan gum
Chef’s Tip: Start with a simple blend like the basic versatile blend and adjust ratios based on your preferences and the specific flours you are using. Record your experiments so you can replicate your best results!
Tip 2: Hydration is Key: Getting the Right Dough Consistency
Gluten-free dough behaves differently than wheat dough. It’s crucial to hydrate the flours properly to achieve the right consistency.
- Start with the recipe’s liquid amount, but be prepared to adjust. Gluten-free flours can vary in absorbency.
- Add liquid gradually. Mix the dry ingredients first, then slowly add the liquid while mixing until a soft, pliable dough forms.
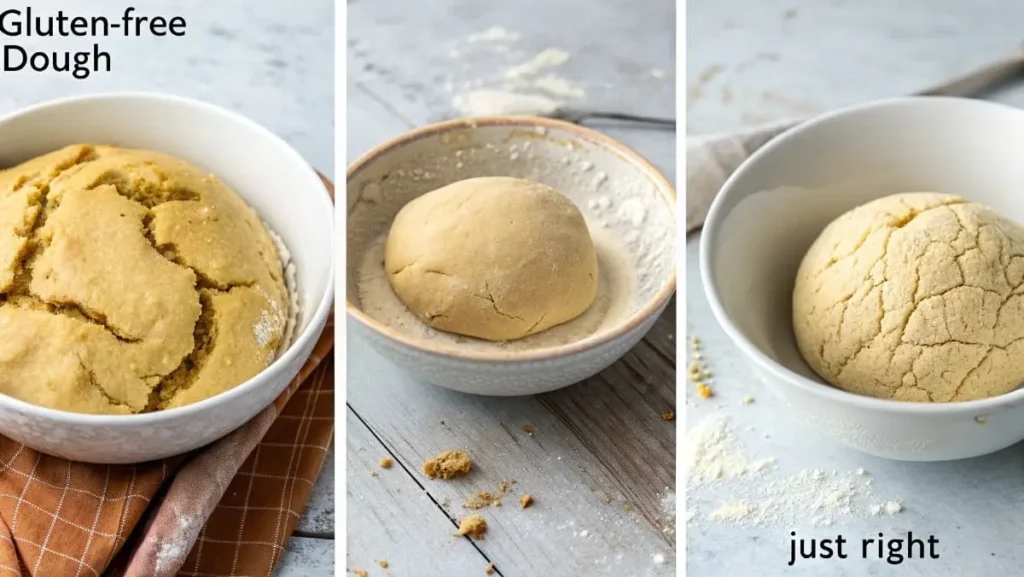
- The dough should be soft and slightly sticky, but not overly wet and runny. It should be easy to handle but not dry and crumbly.
- Let the dough rest. Many gluten-free flours benefit from a resting period (15-30 minutes). This allows the flours to fully absorb the liquid and the dough to become more cohesive.
Tip 3: Kneading (or Not Kneading!) Gluten-Free Dough
Forget traditional kneading when making gluten free wraps. Kneading develops gluten, which we are avoiding!
- Gentle mixing is key. Overmixing gluten-free dough can actually make it tougher.
- Use your hands or a stand mixer with a paddle attachment to gently combine the ingredients until just incorporated. Don’t overwork the dough.
- Some gluten-free wrap recipes require no kneading at all. Simply mix the ingredients until combined and let the dough rest.
- For recipes that benefit from a little structure (like almond flour wraps), you can gently press and fold the dough a few times after mixing to help develop some cohesion, but avoid vigorous kneading.
Tip 4: Rolling & Shaping Gluten-Free Wraps: Gentle Hands & Helpful Tools
Rolling out gluten free wraps requires a gentler approach than wheat wraps because the dough is less elastic.
- Work with small portions of dough. Divide the dough into small, equal-sized balls.
- Use parchment paper or plastic wrap. Place a dough ball between two sheets of parchment paper or plastic wrap to prevent sticking.
- Roll gently and evenly. Use a rolling pin to roll out the dough into a thin circle. Apply even pressure and avoid pressing too hard, which can cause tearing.
- Rotate the wrap as you roll. This helps to ensure an even circle and prevents sticking.
- Peel away the top layer of parchment/plastic wrap carefully.
- For perfectly round wraps, use a cookie cutter or bowl to trim the edges after rolling.
Tip 5: Cooking Gluten-Free Wraps: Pan-Frying, Baking, and Grilling
The cooking method affects the texture and flavor of your gluten free wraps.
- Pan-Frying (Skillet or Griddle): The most common method for wraps.
- Heat a lightly oiled skillet or griddle over medium heat.
- Cook each wrap for 1-2 minutes per side, or until lightly golden brown and cooked through.
- Watch carefully as gluten-free wraps can cook quickly.
- Pan-frying creates soft and slightly chewy wraps, ideal for most fillings.
- Baking (Oven): Less common for wraps, but can be used for crispier, tortilla-chip style wraps.
- Preheat oven to a moderate temperature (e.g., 350°F/175°C).
- Place rolled wraps on baking sheets.
- Bake for a short time (e.g., 5-10 minutes), watching closely to prevent burning.
- Baking can result in drier, crispier wraps, good for dipping or making baked chips.
- Grilling (Outdoor Grill or Grill Pan): Adds smoky flavor.
- Preheat grill to medium heat.
- Lightly oil grill grates.
- Grill wraps for 1-2 minutes per side, or until lightly charred and cooked through.
- Grilling adds a smoky flavor and slightly crisp texture, great for summer wraps.
Chef’s Tip: Pan-frying is generally the most versatile and reliable method for making amazing gluten-free wraps that are soft and flexible.
Tip 6: Storage & Reheating Gluten-Free Wraps: Keeping Them Fresh
Gluten free wraps are best enjoyed fresh, but you can store and reheat them:
- Cool completely after cooking. Stack wraps only when fully cooled to prevent sticking and condensation.
- Store in an airtight container at room temperature for 1-2 days, or in the refrigerator for up to 3-4 days.
- To reheat:
- Skillet: Reheat in a dry skillet over medium-low heat for a few seconds per side until warmed through.
- Microwave: Microwave briefly (10-20 seconds) at a time, wrapped in a slightly damp paper towel to prevent drying out.
- Oven: Reheat in a low oven (e.g., 250°F/120°C) for a few minutes wrapped in foil to prevent drying.
Chef’s Tip: Reheating in a dry skillet often yields the best texture, keeping the wraps soft and pliable.
Delicious Gluten-Free Wrap Recipes: From Basic to Gourmet
Ready to start making amazing gluten-free wraps? Here are four delicious recipes to get you started, from a basic versatile option to more specialized recipes.
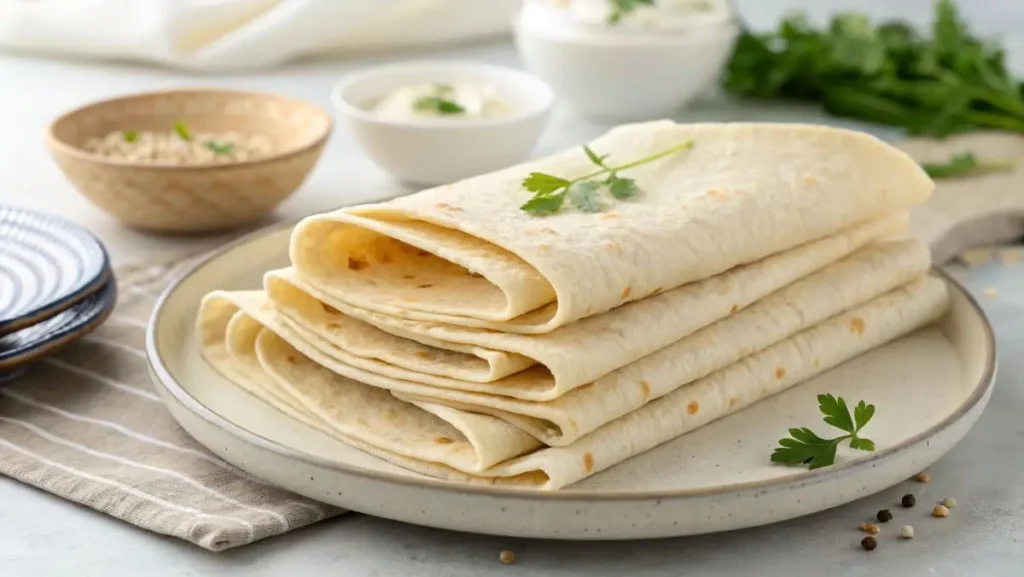
Recipe 1: Basic & Versatile Gluten Free Wraps (Rice Flour Blend)
These wraps are neutral in flavor and incredibly versatile, perfect for everyday use with savory or sweet fillings.
- Yield: 8 wraps
- Preparation Time: 15 minutes
- Cook Time: 20 minutes
- Total Time: 35 minutes
- Portion Size: 1 wrap
Ingredients (with Weights in grams/ounces):
| Ingredient | Weight (grams) | Weight (ounces) |
| White Rice Flour | 120g | 4.2 oz |
| Tapioca Starch | 120g | 4.2 oz |
| Xanthan Gum | 1g | 0.03 oz (½ tsp) |
| Olive Oil | 15ml | 1 tbsp |
| Warm Water | 240ml | 1 cup |
| Salt | 2g | 0.07 oz (½ tsp) |
Instructions (Step-by-Step):
- Combine Dry Ingredients: In a medium bowl, whisk together white rice flour, tapioca starch, xanthan gum, and salt.
- Add Wet Ingredients: Add olive oil and warm water to the dry ingredients. Stir until a soft, slightly sticky dough forms.
- Knead Briefly (Optional): Gently knead the dough in the bowl for 1-2 minutes until it comes together into a smooth ball. (Alternatively, just ensure all ingredients are well combined).
- Rest Dough: Cover the bowl and let the dough rest for 15-20 minutes.
- Divide Dough: Divide the dough into 8 equal portions. Roll each portion into a ball.
- Roll Out Wraps: Place one dough ball between two sheets of parchment paper. Roll out into a thin circle (about 6-7 inches in diameter). Repeat with remaining dough balls.
- Cook Wraps: Heat a lightly oiled skillet or griddle over medium heat. Carefully peel off the top sheet of parchment paper from one wrap and gently flip it onto your hand, then place it onto the hot skillet. Cook for 1-2 minutes per side, or until lightly golden and cooked through. Repeat with remaining wraps.
- Stack and Serve: Stack cooked wraps and keep them covered with a clean kitchen towel to stay soft. Serve warm with your favorite fillings.
Nutritional Information (per wrap – approximate):
| Nutrient | Amount (approx.) |
| Calories | 90-110 |
| Net Carbs | 15-18g |
| Fiber | <1g |
| Protein | <1g |
| Fat | 2-3g |
Note: Nutritional information is an estimate and can vary based on specific ingredient brands and portion sizes. Use a nutrition calculator for precise values if needed.
Dietary Restrictions: Gluten-Free, Vegan (naturally vegan).
Tips for Success:
- Warm water helps activate the xanthan gum and create a smoother dough.
- Resting the dough is important for hydration and texture.
- Roll the wraps as thinly as possible for best flexibility.
- Don’t overcook the wraps, they should remain soft and pliable.
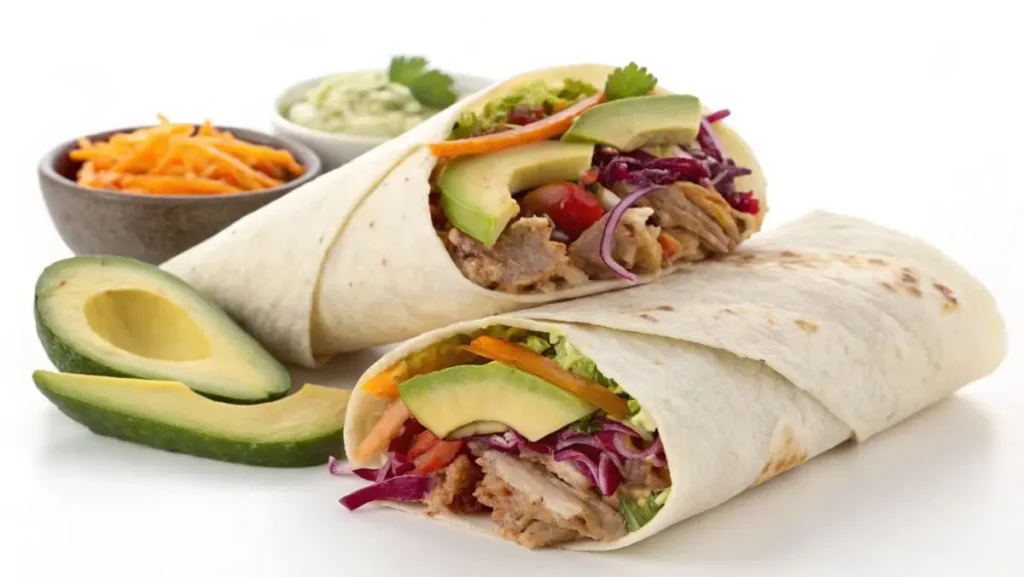
Recipe 2: Soft & Flexible Cassava Flour Wraps (Paleo & Grain-Free Option)
Recipe 2: Soft & Flexible Cassava Flour Wraps (Paleo & Grain-Free Option)
These wraps are wonderfully soft and pliable, perfect for paleo and grain-free diets. Cassava flour creates a texture very similar to traditional wraps.
- Yield: 6 wraps
- Preparation Time: 10 minutes
- Cook Time: 15 minutes
- Total Time: 25 minutes
- Portion Size: 1 wrap
Ingredients (with Weights in grams/ounces):
| Ingredient | Weight (grams) | Weight (ounces) |
| Cassava Flour | 150g | 5.3 oz |
| Tapioca Starch | 30g | 1.1 oz |
| Olive Oil | 15ml | 1 tbsp |
| Warm Water | 240-270ml | 1- 1 1/8 cup |
| Salt | 2g | 0.07 oz (½ tsp) |
Instructions (Step-by-Step):
- Combine Dry Ingredients: In a medium bowl, whisk together cassava flour, tapioca starch, and salt.
- Add Wet Ingredients: Add olive oil and warm water to the dry ingredients. Stir until a smooth, slightly thick batter forms. The batter should be pourable but not too thin, similar to pancake batter. Add more water, tablespoon by tablespoon, if needed to reach this consistency.
- Rest Batter (Optional): For a smoother texture, let the batter rest for 10-15 minutes. This allows the cassava flour to fully hydrate.
- Heat Skillet: Heat a lightly oiled 8-inch non-stick skillet or crepe pan over medium heat.
- Cook Wraps: Pour about ¼ cup of batter into the center of the hot skillet. Immediately lift and tilt the skillet in a circular motion to spread the batter thinly and evenly into a round shape.
- Cook First Side: Cook for 1-2 minutes, or until the edges start to lift and the bottom is set.
- Flip and Cook Second Side: Carefully flip the wrap using a thin spatula. Cook for another 30-60 seconds on the second side, until just cooked through but still soft and pliable. Avoid overcooking, as they can become brittle.
- Stack and Serve: Remove the cooked wrap from the skillet and stack on a plate. Keep them covered with a clean kitchen towel to stay soft. Repeat with the remaining batter. Serve warm or at room temperature with your favorite paleo or grain-free fillings.
Nutritional Information (per wrap – approximate):
| Nutrient | Amount (approx.) |
| Calories | 120-140 |
| Net Carbs | 20-23g |
| Fiber | 2-3g |
| Protein | <1g |
| Fat | 3-4g |
Note: Nutritional information is an estimate and can vary based on specific ingredient brands and portion sizes. Cassava flour carb counts can vary slightly. Use a nutrition calculator for precise values if needed.
Dietary Restrictions: Paleo, Grain-Free, Gluten-Free, Vegan (naturally vegan).
Tips for Success:
- Batter Consistency is Key: Aim for a pourable but not watery batter, similar to pancake batter. Adjust water as needed.
- Cook Thinly: Spreading the batter thinly in the skillet is crucial for soft wraps.
- Don’t Overcook: Cassava flour wraps cook quickly. Cook just until set and pliable, avoid browning too much or they will become brittle.
- Keep Warm and Covered: Cassava wraps are best enjoyed fresh and warm. Keep cooked wraps covered to prevent drying out.
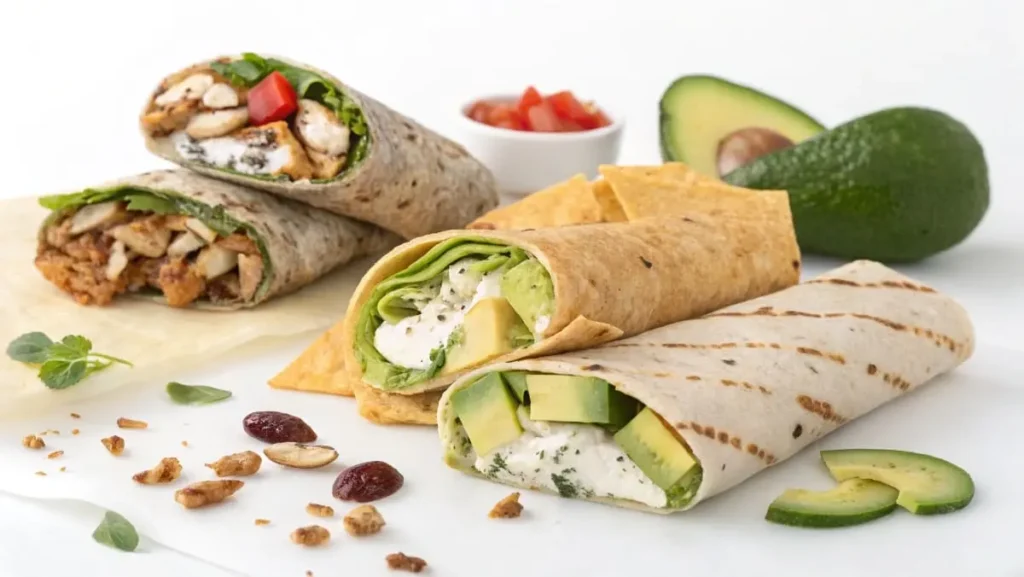
Recipe 3: Hearty & Nutty Almond Flour Wraps (Keto & Low-Carb)
These almond flour wraps are perfect for keto and low-carb diets. They have a slightly nutty flavor and a more substantial texture, ideal for savory fillings.
- Yield: 6 wraps
- Preparation Time: 10 minutes
- Cook Time: 10 minutes
- Total Time: 20 minutes
- Portion Size: 1 wrap
Ingredients (with Weights in grams/ounces):
| Ingredient | Weight (grams) | Weight (ounces) |
| Almond Flour | 120g | 4.2 oz |
| Psyllium Husk Powder | 5g | 0.2 oz |
| Egg | 1 Large | 1 Large |
| Olive Oil | 15ml | 1 tbsp |
| Water | 60-90ml | ¼ – ⅓ cup |
| Salt | 2g | 0.07 oz (½ tsp) |
Instructions (Step-by-Step):
- Combine Dry Ingredients: In a medium bowl, whisk together almond flour, psyllium husk powder, and salt.
- Add Wet Ingredients: In a separate small bowl, whisk together egg, olive oil, and water.
- Combine Wet and Dry: Pour the wet ingredients into the dry ingredients. Stir until a soft, slightly sticky dough forms. The dough should be easy to handle but not too wet. Add more water, teaspoon by teaspoon, if needed to bring the dough together.
- Rest Dough: Let the dough rest for 5-10 minutes. Psyllium husk needs time to absorb the liquid and bind the dough.
- Divide Dough: Divide the dough into 6 equal portions. Roll each portion into a ball.
- Roll Out Wraps: Place one dough ball between two sheets of parchment paper. Roll out into a thin circle (about 6-7 inches in diameter). Repeat with remaining dough balls.
- Cook Wraps: Heat a lightly oiled skillet or griddle over medium-low heat. Carefully peel off the top sheet of parchment paper from one wrap and gently flip it onto your hand, then place it onto the hot skillet. Cook for 1-2 minutes per side, or until lightly golden and cooked through. Almond flour wraps cook quickly and can burn easily, so watch closely and cook at a lower temperature.
- Stack and Serve: Stack cooked wraps and keep them covered with a clean kitchen towel to stay soft. Serve warm with your favorite keto or low-carb fillings.
Nutritional Information (per wrap – approximate):
| Nutrient | Amount (approx.) |
| Calories | 150-180 |
| Net Carbs | 2-3g |
| Fiber | 4-5g |
| Protein | 6-7g |
| Fat | 12-15g |
Note: Nutritional information is an estimate and can vary based on specific ingredient brands and portion sizes. Use a nutrition calculator for precise values if needed.
Dietary Restrictions: Keto, Low-Carb, Gluten-Free. Note: Not suitable for vegans due to egg.
Tips for Success:
- Psyllium Husk is Essential: Psyllium husk powder is crucial for binding almond flour wraps and giving them structure. Don’t omit it.
- Resting Time is Important: Allow the dough to rest so the psyllium husk can fully hydrate and bind.
- Roll Gently: Almond flour dough can be more delicate. Roll gently and evenly.
- Cook at Lower Temperature: Almond flour burns more easily than other flours. Cook over medium-low heat and watch closely.
- Handle with Care: Almond flour wraps are slightly more fragile than other wraps. Handle them gently when filling.
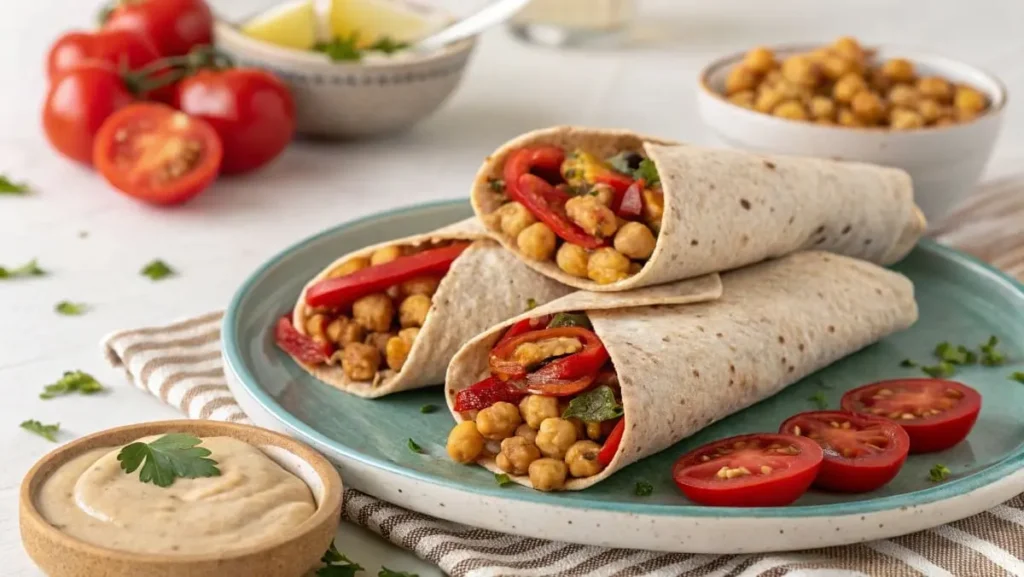
Recipe 4: Savory Gluten-Free Oat Wraps (Certified Gluten-Free Oats)
These wraps made with certified gluten-free oat flour have a subtly sweet and nutty flavor, perfect for savory fillings and those who enjoy a slightly heartier wrap.
- Yield: 6 wraps
- Preparation Time: 10 minutes
- Cook Time: 15 minutes
- Total Time: 25 minutes
- Portion Size: 1 wrap
Ingredients (with Weights in grams/ounces):
| Ingredient | Weight (grams) | Weight (ounces) |
| Certified Gluten-Free Oat Flour | 150g | 5.3 oz |
| Tapioca Starch | 30g | 1.1 oz |
| Olive Oil | 15ml | 1 tbsp |
| Warm Water | 240-270ml | 1- 1 1/8 cup |
| Salt | 2g | 0.07 oz (½ tsp) |
Instructions (Step-by-Step):
- Combine Dry Ingredients: In a medium bowl, whisk together certified gluten-free oat flour, tapioca starch, and salt.
- Add Wet Ingredients: Add olive oil and warm water to the dry ingredients. Stir until a smooth, slightly sticky dough forms. The dough should be soft but not too wet. Add more water, tablespoon by tablespoon, if needed to reach a workable consistency.
- Knead Briefly (Optional): Gently knead the dough in the bowl for 1-2 minutes until it comes together into a smoother ball. (Alternatively, just ensure all ingredients are well combined).
- Rest Dough: Cover the bowl and let the dough rest for 15-20 minutes.
- Divide Dough: Divide the dough into 6 equal portions. Roll each portion into a ball.
- Roll Out Wraps: Place one dough ball between two sheets of parchment paper. Roll out into a thin circle (about 6-7 inches in diameter). Repeat with remaining dough balls.
- Cook Wraps: Heat a lightly oiled skillet or griddle over medium heat. Carefully peel off the top sheet of parchment paper from one wrap and gently flip it onto your hand, then place it onto the hot skillet. Cook for 1-2 minutes per side, or until lightly golden and cooked through.
- Stack and Serve: Stack cooked wraps and keep them covered with a clean kitchen towel to stay soft. Serve warm with your favorite savory fillings.
Nutritional Information (per wrap – approximate):
| Nutrient | Amount (approx.) |
| Calories | 110-130 |
| Net Carbs | 18-21g |
| Fiber | 2-3g |
| Protein | 2-3g |
| Fat | 2-3g |
Note: Nutritional information is an estimate and can vary based on specific ingredient brands and portion sizes. Use a nutrition calculator for precise values if needed.
Dietary Restrictions: Gluten-Free, Vegan (naturally vegan). Note: Ensure to use Certified Gluten-Free Oat Flour for individuals with celiac disease or gluten sensitivity.
Tips for Success:
- Use Certified Gluten-Free Oats: Crucial for those with celiac disease to ensure no cross-contamination.
- Don’t Overwork the Dough: Gentle mixing is best for oat flour dough.
- Resting Improves Texture: Resting the dough allows the oat flour to hydrate and creates a better texture.
- Roll Thinly: Roll the wraps thinly for best pliability.
- Savory Fillings Complement Oat Flavor: Oat wraps pair especially well with savory fillings like hummus, roasted vegetables, and spiced meats or beans.
Beyond Basic Wraps: Creative Fillings & Serving Ideas
Once you’ve mastered making amazing gluten-free wraps, the fun really begins – filling them! Here are some creative filling ideas to inspire you:
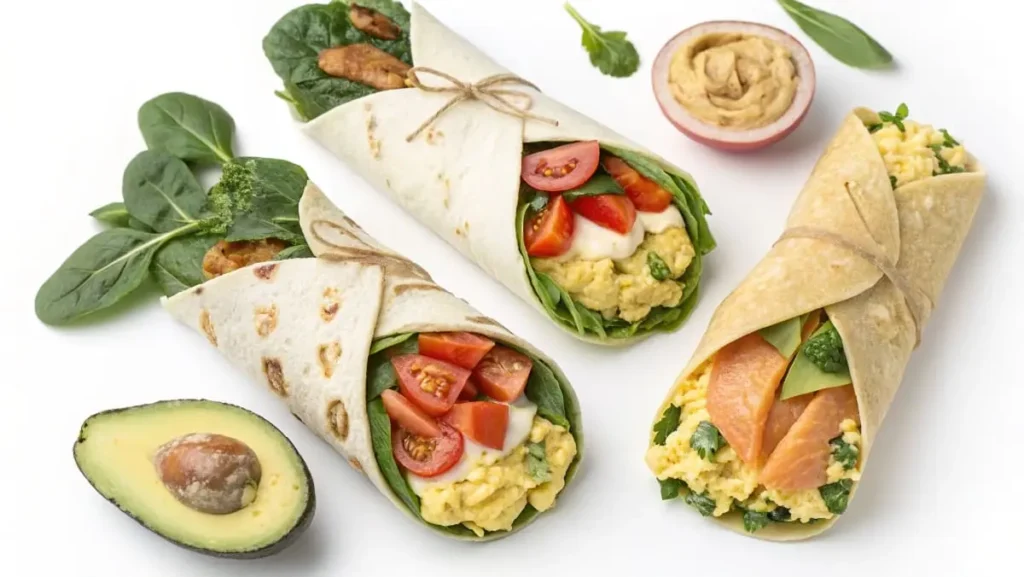
Breakfast Wrap Inspiration: Sweet & Savory Gluten-Free Morning Wraps
- Savory Egg & Veggie Wrap: Scrambled eggs with sautéed spinach, mushrooms, bell peppers, and a sprinkle of cheese (dairy or dairy-free).
- Breakfast Sausage & Avocado Wrap: Crumbled breakfast sausage (ensure gluten-free), sliced avocado, and a dollop of salsa or hot sauce.
- Yogurt & Fruit Parfait Wrap: Greek yogurt (or dairy-free yogurt), granola (gluten-free), and fresh berries or sliced fruit.
- Nut Butter & Banana Wrap: Spread almond butter, peanut butter, or sunflower seed butter on a wrap, add sliced banana, and a drizzle of honey or maple syrup (optional).
- Smoked Salmon & Cream Cheese Wrap: Smoked salmon, cream cheese (or dairy-free cream cheese), fresh dill, and red onion.
Lunch & Light Dinner Wraps: Quick & Healthy Gluten-Free Options
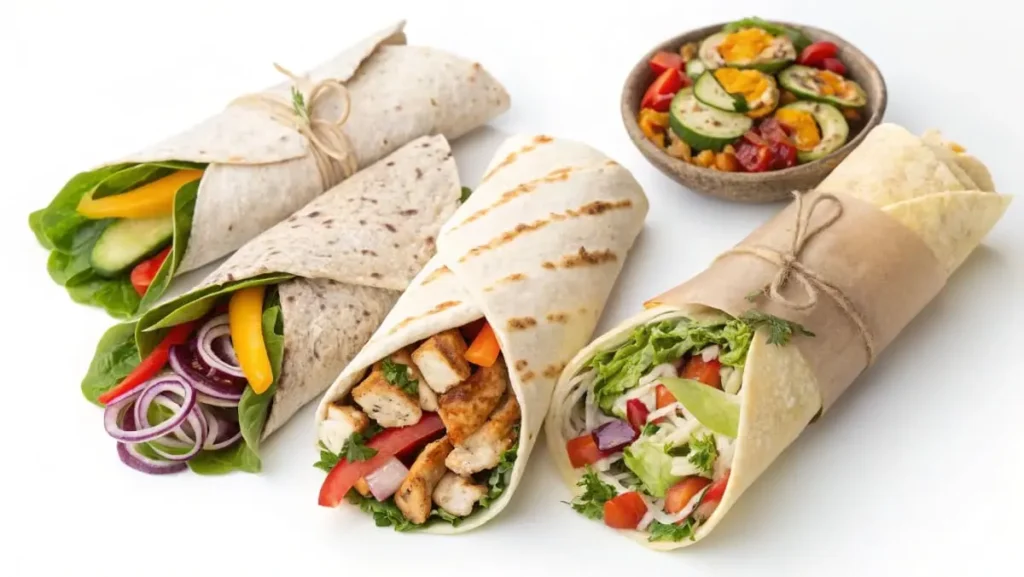
- Deli Meat & Cheese Wrap: Sliced deli turkey, ham, or roast beef (ensure gluten-free), cheese slices, lettuce, tomato, and mustard or mayonnaise.
- Hummus & Roasted Vegetable Wrap: Hummus, roasted vegetables (like bell peppers, zucchini, eggplant), spinach, and a drizzle of balsamic glaze.
- Tuna Salad Wrap: Tuna salad (made with gluten-free mayonnaise), lettuce, and tomato.
- Chicken Salad Wrap: Chicken salad (made with gluten-free mayonnaise), grapes, celery, and lettuce.
- Falafel & Tzatziki Wrap: Falafel balls (ensure gluten-free), tzatziki sauce, cucumber, tomato, and red onion.
Global Flavors in Gluten-Free Wraps: International Inspiration
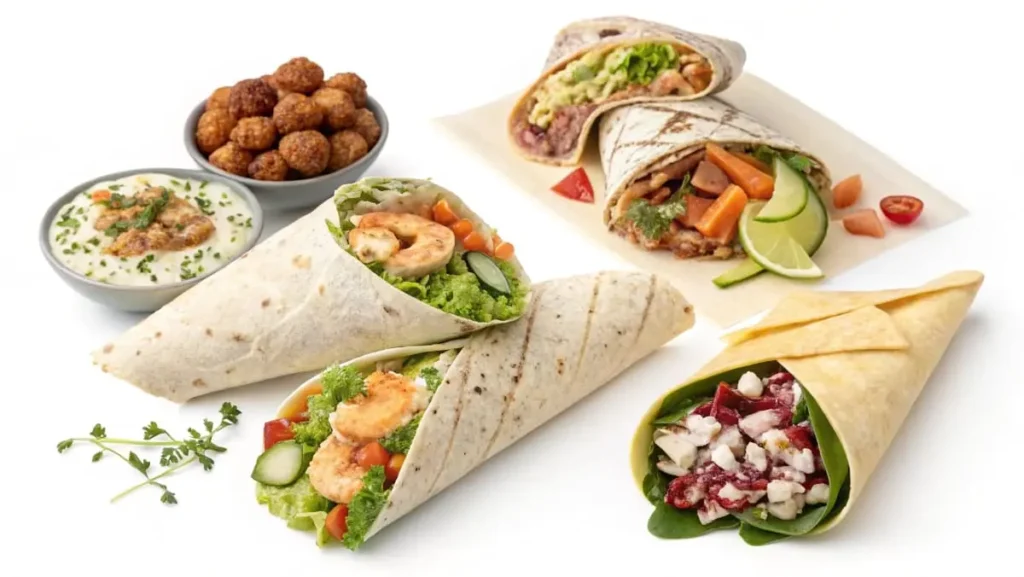
- Vietnamese Spring Rolls (Naturally Gluten-Free): Rice paper wraps (naturally gluten-free), shrimp or tofu, rice noodles, fresh herbs (mint, cilantro, basil), lettuce, and peanut dipping sauce. (External Link to a Vietnamese Spring Roll Recipe)
- Indian Roti/Chapati Style Wraps: Use gluten-free flours (like oat flour or cassava flour) to make roti-style wraps, fill with Indian curries, tandoori chicken, or vegetable dishes. (Internal Link to a Gluten-Free Curry Recipe on your site if available)
- Mexican-Inspired Wraps: Use gluten-free tortillas (store-bought or homemade), fill with seasoned ground beef or chicken, beans, rice (optional), salsa, guacamole, and shredded lettuce. (External Link to a Gluten-Free Tortilla Brand website)
- Mediterranean Wraps: Gluten-free wraps filled with hummus, falafel, Greek salad (cucumber, tomato, feta, olives), and tzatziki sauce.
Sweet Gluten-Free Dessert Wraps: Treat Yourself!
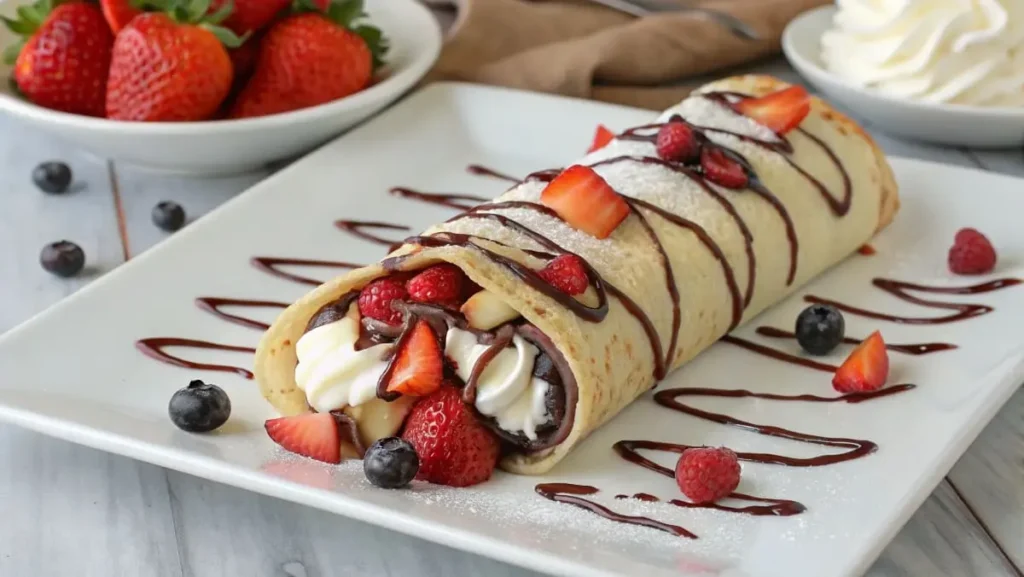
- Fruit & Whipped Cream Wrap: Whipped cream (dairy or coconut whipped cream), sliced strawberries, blueberries, bananas, and a dusting of powdered sugar (optional).
- Chocolate Spread & Berry Wrap: Chocolate hazelnut spread (ensure gluten-free), sliced raspberries or strawberries, and a sprinkle of chopped nuts (optional).
- Cinnamon Sugar Wrap: Brush cooked gluten-free wraps with melted butter, sprinkle with cinnamon sugar, and enjoy warm.
- Apple Pie Filling Wrap: Warm apple pie filling (gluten-free), a scoop of vanilla ice cream (dairy or dairy-free), and a drizzle of caramel sauce (gluten-free).
Buying Guide: Choosing the Best Store-Bought Gluten Free Wraps (for When You Don’t Want to Make Them)
Sometimes, even with the best recipes, you just don’t have time to make gluten free wraps from scratch. Luckily, there are many store-bought options available. Here’s how to choose the best ones:
Navigating the Gluten-Free Aisle: What to Look For on Labels
- “Certified Gluten-Free” Label: Look for products that are certified gluten-free by a reputable organization. This ensures they have been tested and meet strict gluten-free standards, especially important for those with celiac disease.
- Ingredient List: Check the ingredient list. Look for wraps made with recognizable gluten-free flours like rice flour, tapioca starch, cassava flour, almond flour, or oat flour (certified gluten-free).
- Avoid Wraps with Wheat Ingredients: Obviously, avoid any wraps that list wheat, rye, barley, or malt as ingredients. Be wary of “modified food starch” unless it is specified as gluten-free (some can be wheat-based).
- Check for Added Sugars and Unnecessary Additives: Some store-bought wraps may contain added sugars, excessive sodium, or artificial preservatives. Choose brands with simpler ingredient lists and lower sugar and sodium content if desired.
- Consider Your Dietary Needs: If you have other dietary restrictions beyond gluten-free (e.g., grain-free, paleo, keto, vegan), check the label to ensure the wraps align with your needs.
Top Store-Bought Gluten Free Wrap Brands (Chef-Recommended & Taste-Tested – General Advice)
While specific brand recommendations can vary by location and availability, here’s general advice on what to look for in good store-bought gluten free wraps:
- Texture: Look for wraps that are described as “soft,” “flexible,” or “pliable” on the packaging. Avoid wraps that feel stiff or brittle in the package.
- Taste: Read reviews online if possible to get a sense of the taste. Ideally, you want wraps that have a neutral or mildly pleasant flavor that won’t overpower your fillings.
- Ingredients: Prioritize wraps made with simpler, whole-food based gluten-free flours. Brands that are transparent about their ingredients and sourcing are often a good sign of quality.
- Check for Reviews: Online reviews from other gluten-free consumers can be very helpful in gauging the taste and texture of different brands.
Pros & Cons of Store-Bought vs. Homemade Gluten Free Wraps
Comparison Table – Store-Bought vs. Homemade Gluten Free Wraps
| Feature | Store-Bought | Homemade |
| Convenience | Very convenient, ready to use immediately | Requires time for preparation, cooking, and cleanup |
| Cost | Can be more expensive per wrap than homemade | Generally more cost-effective, especially in bulk |
| Taste | Can vary significantly by brand, some are bland | Flavor can be customized, often fresher and more flavorful |
| Ingredients Control | Limited ingredient control, may contain additives | Full control over ingredients, choose high-quality and specific flours |
| Freshness | Can be less fresh than homemade | Freshest when eaten immediately or within a day or two |
| Texture | Texture varies by brand, can be dry or brittle | Texture can be tailored through recipe and technique |
Frequently Asked Questions (FAQs) About Gluten Free Wraps
Let’s address some common questions about gluten free wraps:
FAQ 1: Are all gluten-free wraps healthy?
Answer: Not necessarily. Just because a wrap is labeled “gluten-free” doesn’t automatically make it healthy. Some store-bought gluten free wraps can be made with refined gluten-free flours (like white rice flour and tapioca starch) that are low in fiber and nutrients. They may also contain added sugars, unhealthy fats, and additives. For healthier gluten free wraps, look for wraps made with whole grain gluten-free flours (like brown rice flour, oat flour, or almond flour), and check the ingredient list for minimal additives and lower sugar and sodium content. Homemade gluten free wraps give you the most control over ingredient quality.
FAQ 2: Can I make gluten-free wraps ahead of time?
Answer: Yes, you can make gluten free wraps ahead of time. Cooked wraps can be stored in an airtight container at room temperature for 1-2 days or in the refrigerator for up to 3-4 days. Reheat them briefly in a skillet, microwave (with a damp paper towel), or oven before using. They are best enjoyed within a few days of making for optimal texture.
FAQ 3: What are the best fillings for gluten-free wraps?
Answer: The possibilities are endless! Gluten free wraps are incredibly versatile and can be filled with anything you would put in a traditional wrap or tortilla. Refer back to the “Beyond Basic Wraps: Creative Fillings & Serving Ideas” section for a wide range of savory and sweet filling inspiration, from breakfast to dessert and global cuisines.
FAQ 4: Why are my gluten-free wraps tearing?
Answer: Tearing in gluten free wraps is a common issue, but often solvable! Possible reasons include:
- Dough is too dry: Add a little more liquid to the dough next time to improve pliability.
- Dough wasn’t rested: Resting the dough allows the flours to fully hydrate, making it less prone to tearing.
- Rolling too aggressively: Roll gently and evenly, using parchment paper or plastic wrap to prevent sticking and tearing.
- Wraps are overcooked: Overcooked wraps can become dry and brittle. Cook just until lightly golden and cooked through.
FAQ 5: Where can I buy good gluten-free wraps if I don’t want to make them?
Answer: Good store-bought gluten free wraps can be found in most major grocery stores, health food stores, and online retailers. Check the gluten-free aisle or the bread/tortilla section. Look for brands that are certified gluten-free and have positive reviews for taste and texture. Refer back to the “Buying Guide: Choosing the Best Store-Bought Gluten Free Wraps” section for tips on selecting quality store-bought options.
Conclusion: Unwrapping the Delicious World of Gluten-Free Wraps
Making amazing gluten-free wraps at home is absolutely achievable, and incredibly rewarding! By understanding the principles of gluten-free baking, using the right flours and techniques, and experimenting with delicious recipes, you can enjoy wraps that are not only gluten-free but also incredibly tasty and versatile.
Key Takeaways:
- Making Amazing Gluten-Free Wraps is Achievable! Don’t be intimidated! With the right recipes and tips, you can master gluten-free wrap making.
- Experiment with Recipes and Fillings: Explore different gluten-free flour blends and get creative with your fillings. The possibilities are endless!
- Homemade or Store-Bought – You Have Options: Whether you choose to make them from scratch or buy them ready-made, gluten-free wraps can be a delicious and convenient part of your diet.
Now it’s your turn to unwrap the delicious world of gluten free wraps! Share your gluten free wrap creations in the comments below! What are your favorite recipes, fillings, or tips? Let’s inspire each other and celebrate the deliciousness of gluten-free living!
Loved making this? Share your experience in a review!
There are no reviews yet. Be the first one to write one.

