Meal Prep Containers: Top Benefits You Need To Know
Why Meal Prep Containers Are Your Secret Weapon for a Healthier, Easier Life
Busy weekdays making healthy eating a challenge? Reaching for takeout too often? Meal prep containers are your solution. These aren’t just storage; they’re a powerful tool to revolutionize your food habits.
Imagine effortlessly grabbing a perfectly portioned, delicious, and healthy meal straight from your fridge. No daily cooking stress, no unhealthy choices. That’s the magic of meal prep containers.
This article will uncover the top benefits of using meal prep containers. Learn how they help you eat healthier, save time and money, reduce stress, and live more sustainably. Discover why meal prep containers are a game-changer for a healthier, happier life.
Table of Contents
Benefit #1: Take Control of Your Health & Nutrition (Low-Carb Focus)
One of the biggest reasons people start using meal prep containers is to eat healthier, especially when following a specific diet like a low-carb or ketogenic approach. Sticking to a low-carb plan can feel challenging with busy schedules. Meal prep containers make low-carb eating not just a goal, but a manageable lifestyle. They empower you to control your carbohydrate intake and prioritize healthy fats and proteins, leading to improved nutrition and well-being in your chosen diet.
Eat Healthier (Low-Carb), Effortlessly
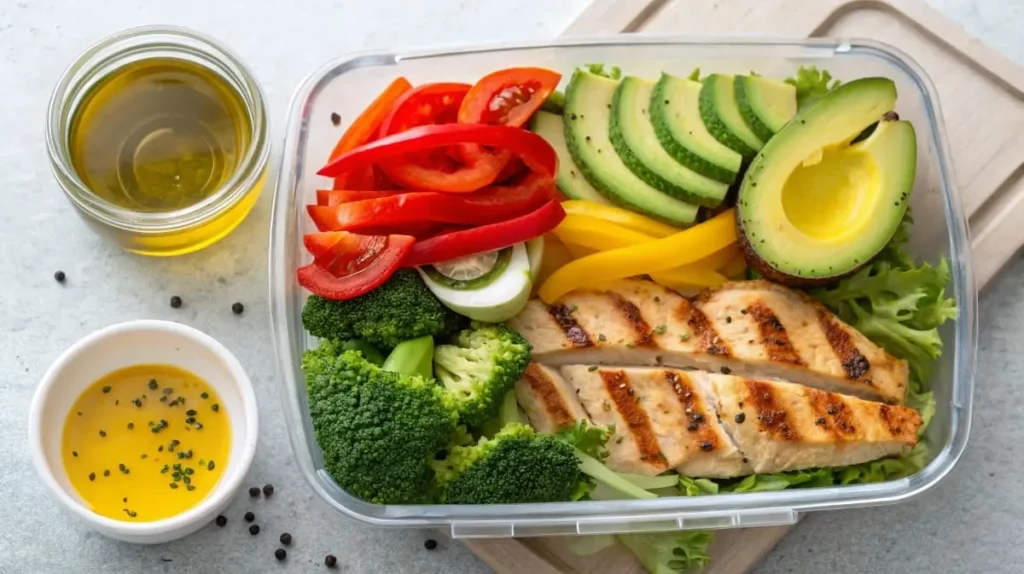
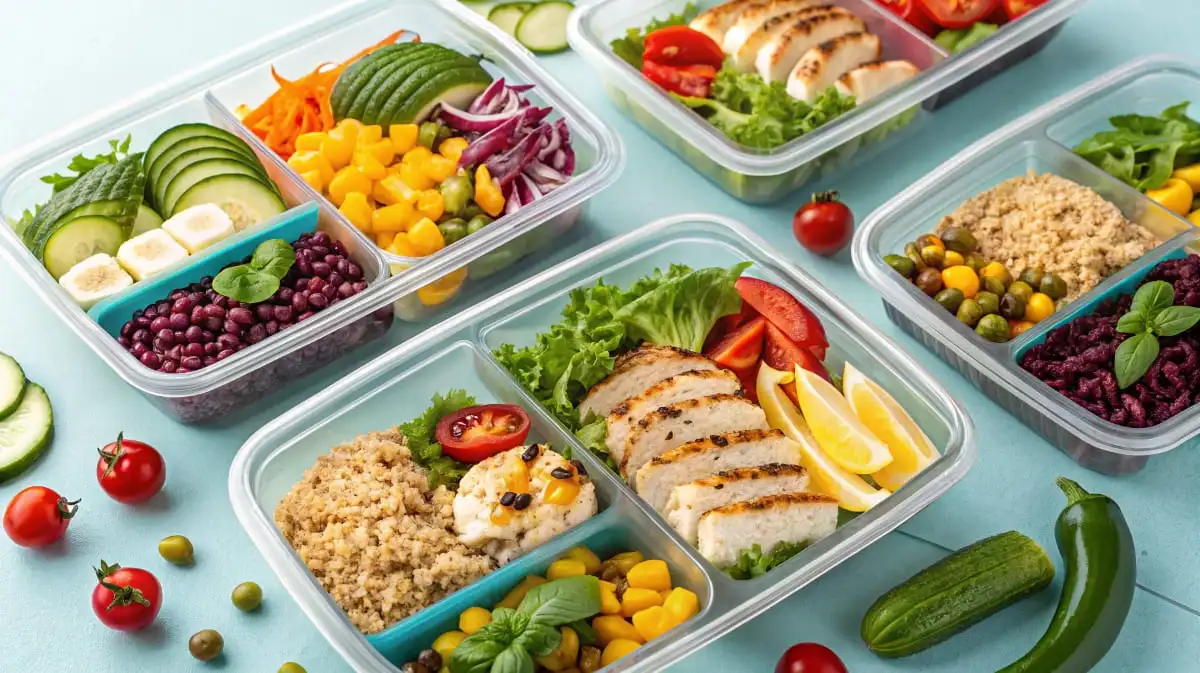
Imagine always having a delicious and diet-compliant low-carb meal ready whenever hunger strikes. That’s the power of meal prep containers for low-carb eating. They simplify healthy eating in these key ways:
- Precise Macro Control (Especially Carbs): Low-carb diets are all about managing macronutrients, particularly carbohydrates. Meal prep containers make it easy to pre-portion your meals to ensure you stay within your daily carb limits. By planning and packing your meals in advance, you eliminate guesswork and can accurately track your macros if you are monitoring them. This level of control is crucial for success on a low-carb or keto diet.
- Focus on Low-Carb Essentials: With meal prep containers, you can intentionally build meals around low-carb staples:
- Non-Starchy Vegetables: Load up on leafy greens, broccoli, cauliflower, zucchini, bell peppers, and asparagus. These provide essential vitamins, minerals, and fiber with minimal carbs.
- Healthy Fats: Include sources of healthy fats like avocado, olive oil, coconut oil, nuts, and seeds. Fats are a primary energy source on low-carb diets and are crucial for satiety.
- Quality Protein: Prioritize protein sources like chicken, fish, beef, eggs, and tofu. Protein is essential for muscle maintenance and keeps you feeling full.
By pre-packing these low-carb components into your meal prep containers, you make sticking to your diet plan automatically and effortless throughout the week.
Recipe Idea Example: Lemon Herb Salmon with Roasted Broccoli and Almonds (Low-Carb/Keto)
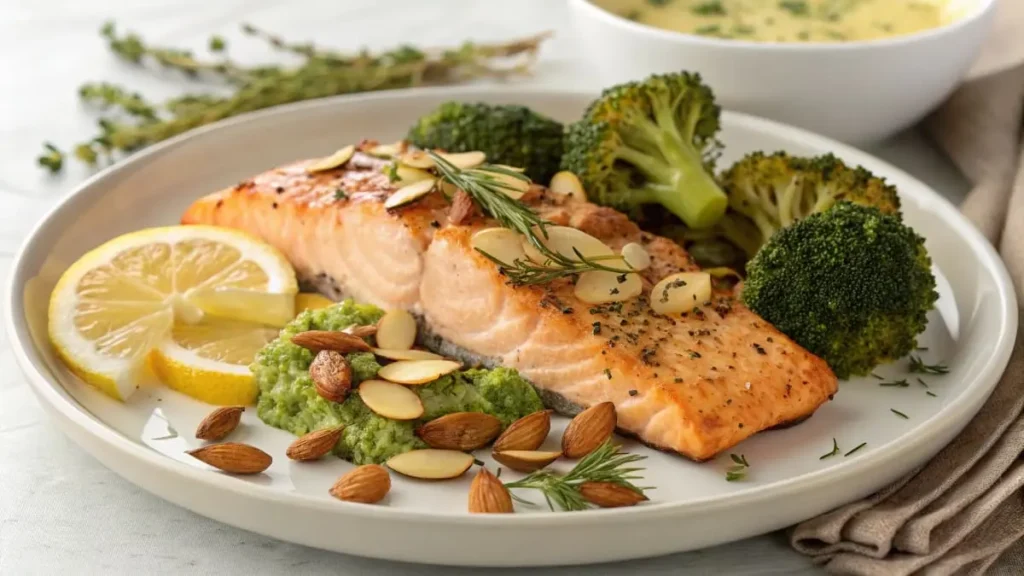
This recipe is delicious, low in carbs, high in healthy fats and protein, and perfect for meal prepping on a ketogenic or low-carb diet. Measurements are in weights for accuracy.
Ingredients:
- Salmon Fillets: 450g (about 1 lb)
- Broccoli florets: 400g (about 0.9 lbs)
- Almonds, slivered: 30g (about 1 oz)
- Olive Oil: 45ml (about 3 tablespoons)
- Lemon Juice, fresh: 30ml (about 2 tablespoons)
- Dried Herbs (e.g., dill, parsley, thyme): 5g (about 1 teaspoon total)
- Salt: 5g (about 1 teaspoon)
- Black Pepper: 2g (about 0.5 teaspoon)
Instructions:
- Preheat your oven to 200°C (400°F).
- Cut salmon fillets into equal portions (about 110-115g each for 4 portions).
- In a large bowl, toss broccoli florets with 30ml (2 tablespoons) of olive oil, salt, and pepper. Spread on a baking sheet.
- Place salmon fillets on a separate section of the baking sheet or another baking sheet.
- In a small bowl, whisk together the remaining 15ml (1 tablespoon) olive oil, lemon juice, and dried herbs. Pour over salmon fillets.
- Roast broccoli for 15-20 minutes, and salmon for 12-15 minutes, or until salmon is cooked through and flakes easily and broccoli is tender-crisp. Salmon is cooked when it reaches an internal temperature of 63°C (145°F).
- While salmon and broccoli are roasting, lightly toast slivered almonds in a dry pan over medium heat until fragrant and lightly browned, about 3-5 minutes. Watch carefully to prevent burning.
- Divide roasted broccoli and salmon evenly into meal prep containers. Sprinkle each portion with toasted almonds.
- Let cool completely before sealing and refrigerating.
Support Your Low-Carb Weight Loss or Fitness Goals
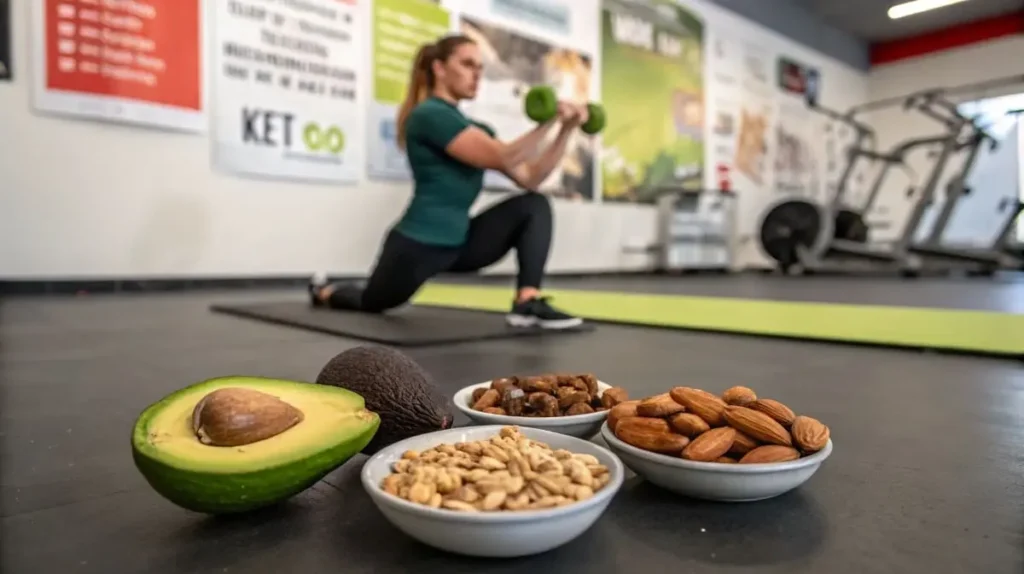
For those using a low-carb or ketogenic diet for weight loss or fitness, meal prep containers are even more valuable. Here’s how:
- Crush Carb Cravings: One of the biggest hurdles on a low-carb diet is managing carb cravings, especially when hunger strikes unexpectedly. Having pre-made, satisfying low-carb meals in your meal prep containers provides a readily available, healthy alternative to reaching for high-carb snacks or meals. You’re less likely to stray from your diet when you have delicious, compliant options prepared.
- Optimize Fat Adaptation for Energy: For keto dieters and those focusing on fat adaptation for endurance, meal prep containers ensure you consistently get the high-fat, moderate-protein, and very low-carb ratios needed to stay in ketosis and fuel workouts effectively. Pre-planning meals allow you to precisely control your macronutrient intake and maintain the metabolic state you’re aiming for.
Kitchen Tip: Prepare a batch of low-carb dressings or sauces at the beginning of the week and store them in small containers to add flavor and healthy fats to your prepped meals throughout the week. Consider dressings based on olive oil, avocado oil, or coconut milk. This is a great way to enhance flavor and add beneficial fats to low-carb meal preps.
Benefit #2: Save Time & Reduce Stress in Your Busy Week
Life is hectic! Between work, school, family, and everything else, time is precious. Meal prep containers aren’t just about healthy eating; they are also incredible time-savers and stress-reducers. Imagine reclaiming hours each week and feeling more in control of your busy schedule – all thanks to these simple containers.
Cook Once, Eat All Week
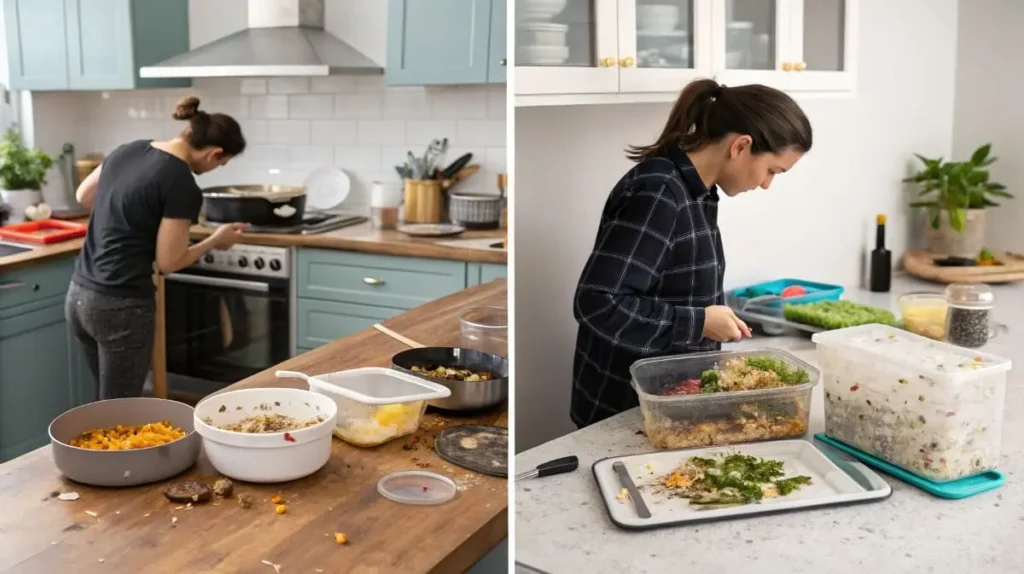
The beauty of meal prep containers lies in the “cook once, eat many times” principle. Instead of cooking a full meal every single day, you dedicate a block of time (often just a couple of hours on a weekend) to preparing meals for the week ahead. This batch-cooking approach is a game-changer:
- Maximize Your Time: Think about how much time you spend each day on meal-related tasks: deciding what to eat, grocery shopping for that specific meal, cooking, and cleaning up. Meal prepping consolidates all of this into one efficient session. You cook larger quantities of food at once, portion them out into your meal prep containers, and then you’re set for days!
- Reclaim Weekday Evenings: Weekday evenings are often the most stressful time for families and individuals. By having pre-prepared meals in meal prep containers, you free up valuable evening time. No more rushed cooking after a long day, no more waiting for takeout. You can spend that saved time on things you truly enjoy – spending time with family, pursuing hobbies, relaxing, or simply getting more rest.
Say Goodbye to “What’s for Dinner?” Panic
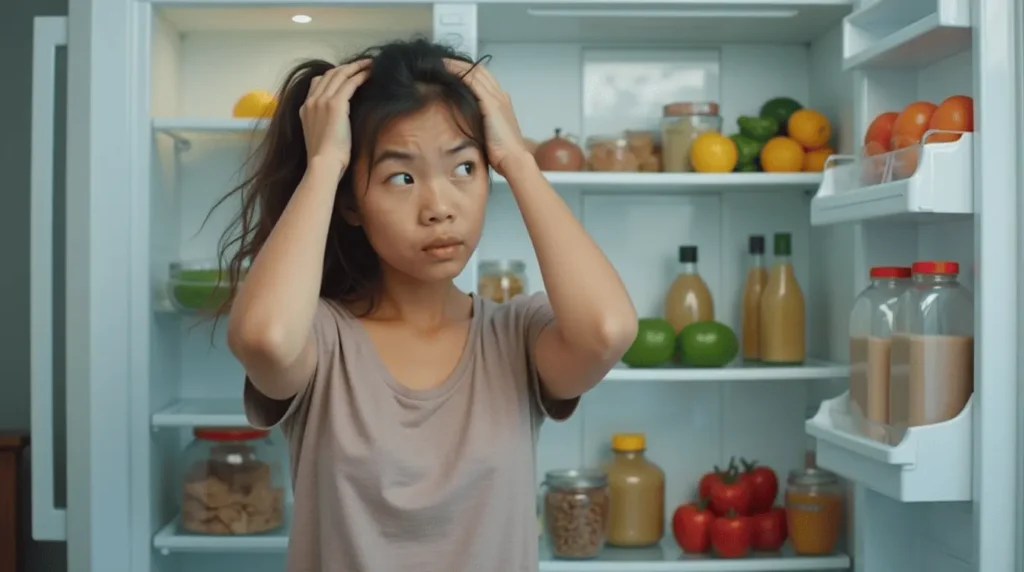
The daily question, “What’s for dinner?” can be a surprisingly significant source of stress. Meal prep containers eliminate this decision fatigue and bring a sense of calm to your mealtimes:
- Eliminate Mealtime Decisions: When you’ve prepped your meals and stored them in meal prep containers, the daily “what to eat” question vanishes. You’ve already made those decisions during your meal prep session. This reduces mental clutter and frees up your brainpower for other things.
- Simplified Grocery Shopping: Meal prepping makes grocery shopping more efficient and less stressful. You plan your meals for the week, create a detailed shopping list based on your recipes, and buy only what you need. No more aimless wandering through the grocery store trying to figure out what to cook. You go in with a plan, get what you need, and get out, saving both time and money (as we’ll discuss later!).
Faster & Easier Weekday Lunches
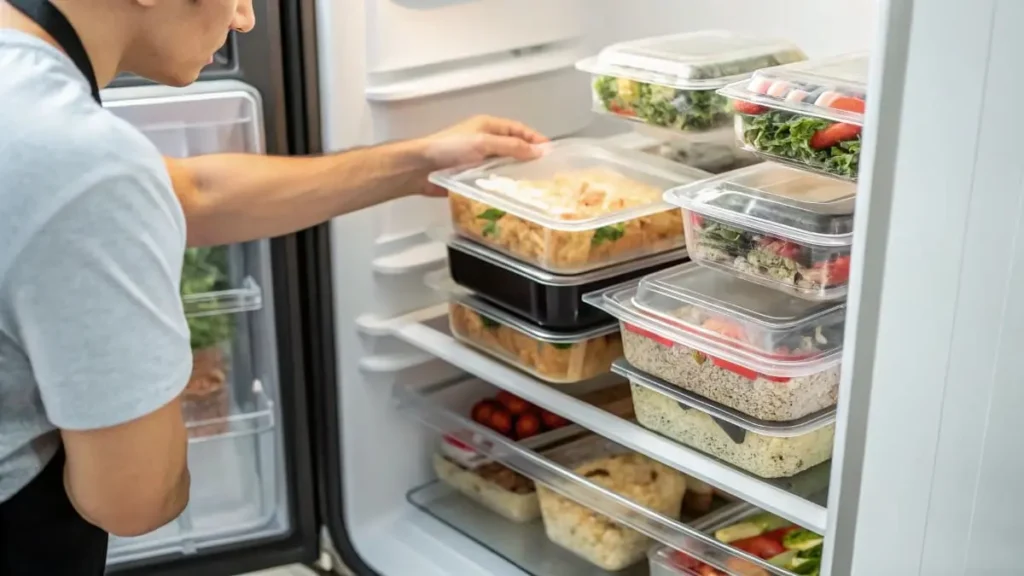
Lunches can be a particularly tricky meal during the work or school week. Meal prep containers offer a convenient and healthy solution for quick and easy lunches:
- Grab-and-Go Convenience: No more morning rush trying to pack a lunch or resorting to unhealthy cafeteria food or expensive takeout. With meal prep containers, your lunch is already packed and waiting in the fridge. Just grab a container on your way out the door, and you have a nutritious and satisfying lunch ready to go.
- Avoid Lunchtime Lines and Crowds: Packing your lunch in meal prep containers lets you bypass crowded cafeterias, long lines at sandwich shops, and the temptation of unhealthy fast food options near your workplace or school. You control what you eat and avoid the lunchtime rush altogether.
- Need Lunch Inspiration? If you’re looking for ideas to fill your meal prep containers with delicious and healthy lunches, check out our guide to Special Diet Meal Plans & Weekly Guides. You’ll find a variety of recipes and meal plans to suit different dietary needs and preferences, making your weekday lunches both exciting and easy to prepare in advance.
Benefit #3: Save Money & Reduce Food Waste
Beyond health and time, meal prep containers offer another set of significant benefits: saving money and reducing food waste. These two often go hand-in-hand, and by being more mindful of both, you can make your wallet and the planet happier. Let’s explore how meal prep containers become your allies in both areas.
Eat Out Less, Save More
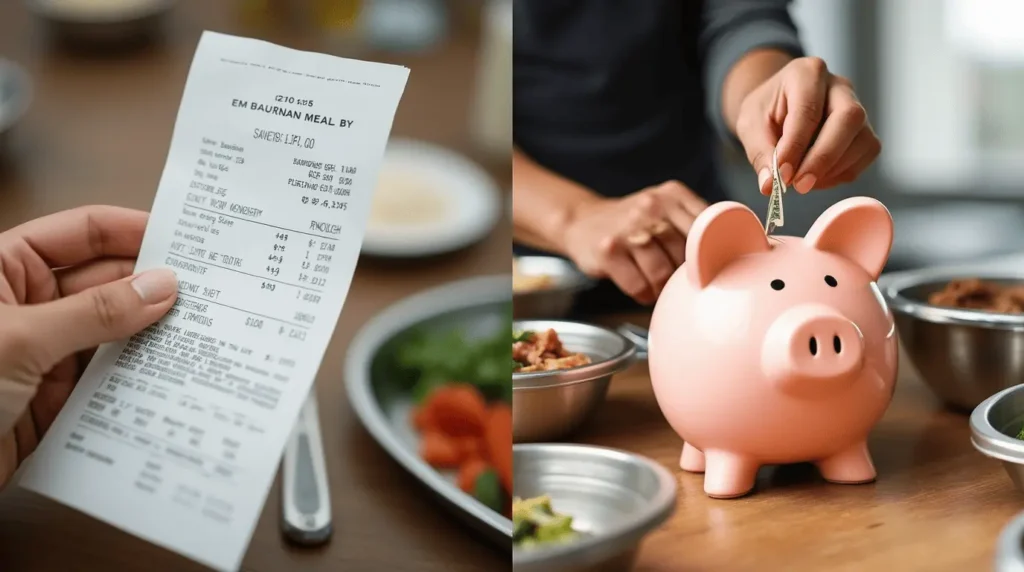
One of the most direct ways meal prep containers save you money is by significantly reducing how often you eat out:
- Break the Takeout Habit: Takeout and restaurant meals are convenient, but they quickly add up and can become a major drain on your budget. When you have delicious, pre-prepared meals in your meal prep containers ready to go, you’re far less likely to give in to the temptation of ordering expensive and often less healthy takeout. Think about how much you spend on lunch or dinner takeout each week – meal prepping can drastically cut down on these expenses.
- Cost-Effective Home Cooking: Cooking at home is almost always more affordable than eating out. By using meal prep containers to facilitate home cooking, you’re naturally choosing the more budget-friendly option. You buy groceries in bulk, cook larger portions, and portion them out, making your food budget stretch further.
Simple Cost Comparison Table
| Scenario | Weekly Lunch Cost | Weekly Dinner Cost | Total Weekly Eating Out Cost |
| Eating Out Daily (Lunch & Dinner) | $70 | $140 | $210 |
| Meal Prepping (Home Cooked) | $25 (Grocery Cost) | $50 (Grocery Cost) | $75 |
| Weekly Savings with Meal Prep | $45 | $90 | $135 |
(Note: These are just example figures and can be adjusted to reflect average costs in different regions.)
This simple table visually demonstrates the potential savings. Imagine saving this amount every week – it adds up to significant savings over a month and a year!
Minimize Food Spoilage
8-(Image Suggestion: A visual representation of food waste reduction. Perhaps a compost bin with minimal food scraps next to a fridge stocked with organized meal prep containers. Contrasting with an overflowing trash can with spoiled food.)
Food waste is a major problem, both environmentally and financially. Meal prep containers can play a key role in reducing food spoilage and making the most of your groceries:
- Planned Meals, Less Waste: When you plan your meals for the week and create a shopping list based on those plans, you are much less likely to buy groceries you don’t need or won’t use. This reduces impulse buys and ensures you’re purchasing ingredients specifically for the meals you intend to prepare.
- Proper Storage Extends Freshness: Meal prep containers, especially airtight ones, help keep your prepped meals fresh for longer in the refrigerator. Proper storage slows down spoilage and helps maintain the quality and taste of your food, ensuring you eat what you’ve prepared instead of throwing it away.
Kitchen Tip: “Labeling containers with the date of preparation” is crucial for tracking freshness and ensuring you consume meals within a safe timeframe. Use a simple marker or labels to date each container when you pack it. This helps prevent food from going bad unnoticed in the back of your fridge.
Benefit #4: Environmentally Friendly & Sustainable Choice
In today’s world, being mindful of our environmental impact is more important than ever. Meal prep containers offer a simple yet effective way to make more sustainable choices in your daily life. By reducing single-use plastics and making conscious material choices, you can contribute to a healthier planet, one meal at a time.
Reduce Single-Use Plastic Waste
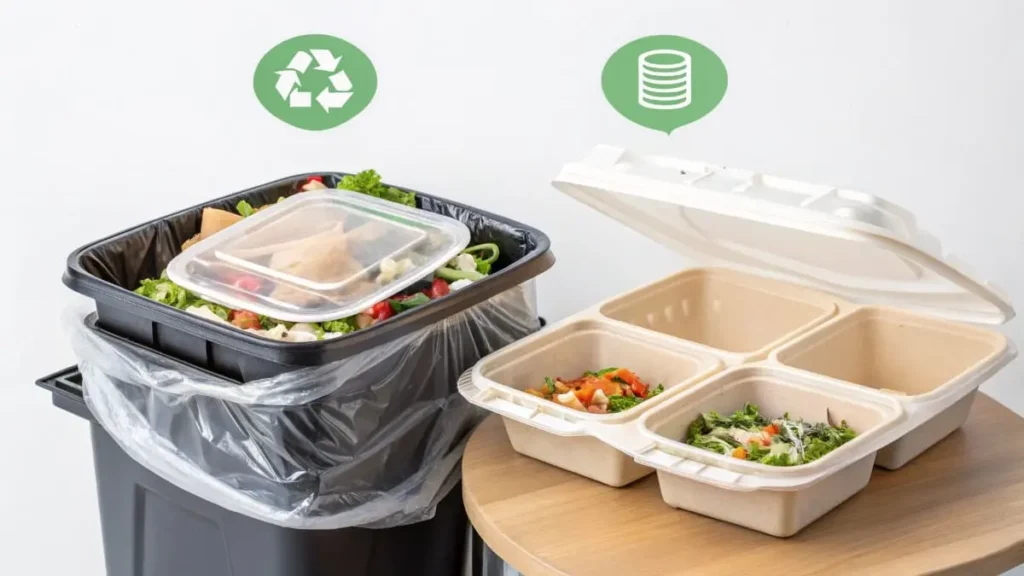
Single-use plastics are a major environmental concern, contributing to pollution in landfills and oceans. Meal prep containers provide a fantastic alternative and help you minimize your plastic footprint:
- Ditch Disposable Takeout Containers: Think about all the takeout containers you might use in a week or a month – they quickly accumulate and often end up in landfills. By bringing your pre-prepared meals in meal prep containers, you actively reduce your reliance on disposable takeout containers every time you avoid ordering in.
- Say No to Plastic Wrap and Bags: Instead of wrapping leftovers in plastic wrap or using single-use plastic bags for lunches, meal prep containers offer a reusable and durable solution. You can store leftovers, pack lunches, and freeze meals without needing to reach for single-use plastic products, significantly reducing plastic waste over time.
For a deeper understanding of the widespread impact of plastic pollution on our planet, you can read this comprehensive article by National Geographic: Plastic Pollution. It highlights the staggering amount of plastic waste generated globally and the urgent need for solutions.
Choose Sustainable Container Materials
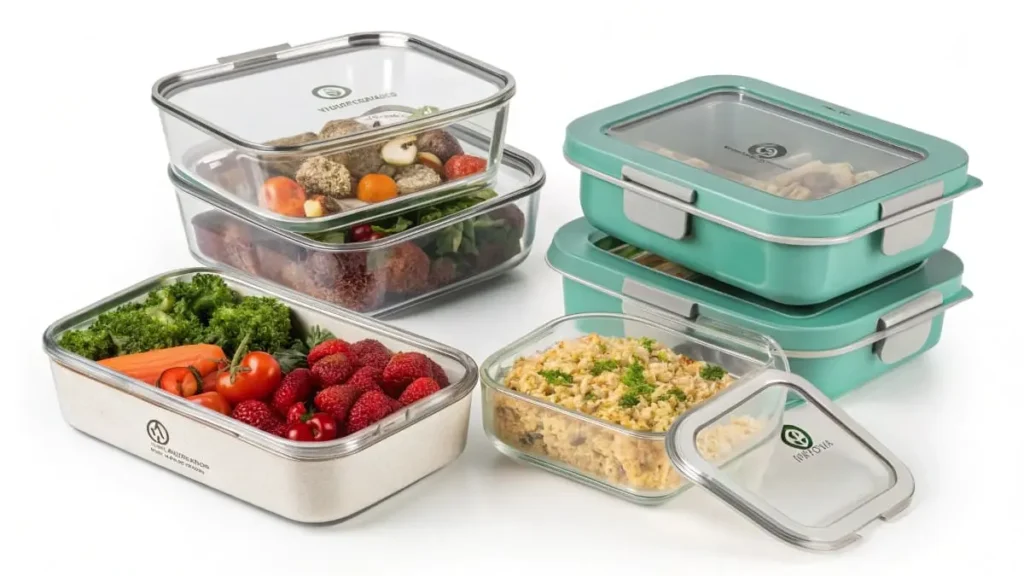
When choosing meal prep containers, you have the opportunity to make even more eco-conscious decisions by considering the materials they are made from:
- Glass Containers: Glass is a highly sustainable material. It’s reusable, recyclable, and doesn’t leach chemicals. Glass meal prep containers are a great eco-friendly option, although they can be heavier and more fragile than plastic.
- BPA-Free Plastic Containers: While plastic isn’t always the most sustainable choice, choosing BPA-free plastic meal prep containers is a better option than using containers with BPA (Bisphenol A), a potentially harmful chemical. Look for durable, reusable BPA-free plastic options to reduce reliance on single-use plastics.
- Stainless Steel Containers: Stainless steel is another excellent sustainable choice. It’s durable, long-lasting, and recyclable. Stainless steel meal prep containers are lightweight, don’t leach chemicals, and are a very eco-friendly option, though often more expensive upfront.
Choosing the Right Meal Prep Containers: A Buyer’s Guide
With so many meal prep containers on the market, choosing the right ones for your needs can feel overwhelming. Don’t worry! This buyer’s guide will break down the key factors to consider, helping you select containers that are perfect for your lifestyle, dietary needs, and meal-prepping goals.
Material Matters: Plastic, Glass, Stainless Steel?
The material of your meal prep containers is a primary consideration, affecting durability, safety, and even how well your food stores. Here’s a comparison of the most common materials:
Comparison Table of Container Materials
| Material | Pros | Cons | Best Use Cases |
| Plastic (BPA-Free) | Lightweight, affordable, durable (less prone to breaking), wide variety of shapes & sizes | Can stain or retain odors over time, some may not be microwave-safe or freezer-safe | Everyday meal prep, portability (lunches to work/school), budget-conscious users |
| Glass | Non-reactive (won’t leach chemicals), doesn’t stain or retain odors, microwave & oven safe (check specific product), often freezer-safe, recyclable. | Heavier than plastic, more fragile (can break), generally more expensive than plastic | Home meal prep, reheating in microwave or oven, storing strongly flavored foods |
| Stainless Steel | Very durable, lightweight, non-reactive, doesn’t stain or retain odors, often freezer-safe, very sustainable & recyclable. | Not microwave-safe, usually more expensive than plastic, limited transparency | Eco-conscious users, freezer storage, and those prioritizing durability & longevity |
- Plastic (BPA-Free) – The Practical Choice: BPA-free plastic meal prep containers are often the most budget-friendly and widely available option. They are lightweight, come in a huge variety of shapes and sizes, and are generally quite durable for everyday use. Look for “BPA-free” labels to ensure they are free from potentially harmful chemicals.
- Glass – The Premium & Versatile Choice: Glass meal prep containers offer a premium feel and several advantages. They are non-reactive, meaning they won’t interact with your food or leach chemicals. They are also microwave and oven-safe (always check product specifications!), easy to clean, and don’t retain stains or odors. Glass is a great choice if you prioritize food safety and plan to reheat meals directly in the container.
- Stainless Steel – The Durable & Sustainable Choice: Stainless steel meal prep containers are incredibly durable and long-lasting. They are also non-reactive, lightweight, and very sustainable. They are a fantastic option for eco-conscious individuals and those who want containers that will last for years. However, they are not microwave-safe and are typically more expensive upfront.
Size & Shape for Your Needs
The right size and shape of your meal prep containers will depend on the types of meals you plan to prep and your portion sizes:
- Single Compartment Containers: These are versatile and great for simple meals like pasta dishes, salads, or single-protein meals with sides mixed. They are easy to pack and clean. Choose sizes based on your typical meal portions.
- Multi-Compartment Containers: These are ideal for keeping different components of your meal separate – for example, protein, vegetables, and grains. They prevent sauces from making everything soggy and are great for “bento box” style lunches or meals where you want to keep ingredients distinct until eating. Look for 2-compartment or 3-compartment options depending on your needs.
- Consider Your Meal Types: Think about the kinds of meals you’ll be prepping most often. If you make a lot of salads, wider, shallower containers might be best. For saucier dishes or soups, deeper containers are more suitable. If you need to pack snacks separately, smaller containers are essential.
Features to Look for: Leak-Proof, Microwave-Safe, Freezer-Safe?
Beyond material, consider these important features when selecting meal prep containers:
- Leak-Proof Lids: Absolutely essential, especially if you plan to transport your containers to work or school. Look for containers with tight-fitting, secure lids to prevent spills and leaks in your bag. Silicone seals often indicate containers that seal tightly and prevent liquids from escaping.
- Microwave-Safe (if needed): If you plan to reheat your meals in the microwave directly in the container, make sure to choose microwave-safe materials (glass and some plastics). Always check the manufacturer’s instructions.
- Freezer-Safe (if needed): If you intend to freeze prepped meals for longer-term storage, ensure your containers are freezer-safe. Some materials can become brittle and crack in the freezer. Glass and many types of plastic and stainless steel are freezer-safe, but always verify.
- Dishwasher-Safe (for easy cleaning): Dishwasher-safe meal prep containers make cleanup much easier. Check if both the container and lid are dishwasher-safe, preferably on the top rack for lids and plastic containers.
Kitchen Tip: Investing in a set of containers with airtight lids to prevent leaks and maintain food freshness is highly recommended, even if it costs slightly more upfront. It will save you headaches (and messes!) in the long run and ensure your prepped meals stay delicious and safe to eat.
Getting Started with Meal Prep Containers: Easy Steps for Beginners
Ready to dive into the world of meal prepping with containers? It might seem daunting at first, but it’s quite simple once you break it down into easy steps. This guide will walk you through the basics to get you started with confidence and set you up for meal-prepping success!
Plan Your Meals for the Week
Meal planning is the foundation of successful meal prepping. Don’t skip this step! It doesn’t have to be complicated – start simple:
- Choose a Few Recipes: For your first week, pick just 2-3 simple recipes that you enjoy and that are easy to make in larger quantities. Think about recipes you already know and like. You can find tons of meal prep recipe ideas online (and we’ll share some more!).
- Consider Your Week’s Schedule: Think about how many lunches and dinners you’ll need to prep. Will you be eating all your prepped meals at home, or will you be taking them to work or school? This will help you determine how many portions to prepare.
- Make a Grocery List: Once you’ve chosen your recipes, create a detailed grocery list of all the ingredients you’ll need. Check your pantry and fridge first to see what you already have. Stick to your list at the store to avoid impulse buys and keep your meal prep focused.
- Start Simple, Build Up: Don’t try to overhaul your entire diet and meal routine in week one. Begin with prepping just lunches for the week, or dinners for 3 days. As you get more comfortable, you can gradually increase the number of meals and recipes you prep each week.
Batch Cook Efficiently
Batch cooking is the key to saving time during meal prep. Here are some tips to cook efficiently:
- Multi-Task Like a Pro: While one dish is baking in the oven, you can be cooking grains on the stovetop and chopping vegetables for another recipe. Plan your cooking steps to maximize your time.
- Utilize Your Appliances: Use your oven, stovetop, slow cooker, Instant Pot, or air fryer to cook different components of your meals simultaneously. For example, roast vegetables and chicken in the oven while cooking rice on the stovetop.
- Prep Ingredients in Advance: Before you start cooking, wash and chop all your vegetables, measure out spices, and prepare any sauces or marinades. This “mise en place” approach makes the actual cooking process much faster and smoother.
- Focus on Versatile Staples: Cook versatile ingredients that can be used in multiple meals. For example, roast a big batch of chicken breast that can be used in salads, bowls, and wraps throughout the week. Cook a large quantity of quinoa or brown rice to serve as a base for different dishes.
Recipe Idea Example: Quinoa Salad with Black Beans and Corn (Vegetarian, Gluten-Free)
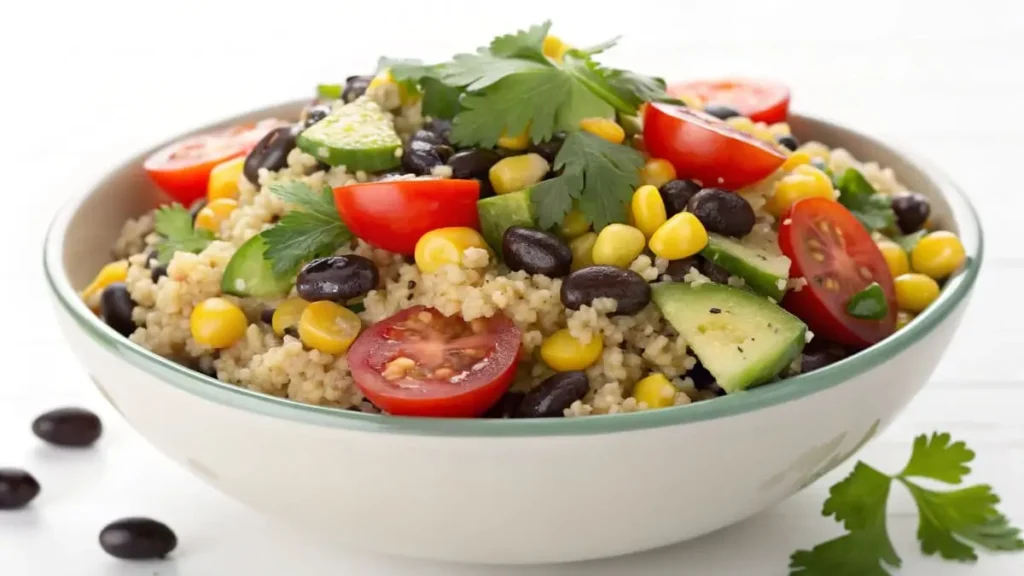
This simple vegetarian salad is packed with flavor and nutrients, easy to batch cook, and perfect for beginner meal preppers. Measurements are in weights for accuracy.
Ingredients:
- Quinoa, uncooked: 200g (about 1 cup)
- Vegetable Broth or Water: 400ml (about 2 cups)
- Black Beans, canned, rinsed and drained: 400g (about 1 can)
- Corn, frozen or canned, drained: 300g (about 1.5 cups)
- Red Bell Pepper, diced: 150g (about 1 medium)
- Red Onion, finely diced: 50g (about 1/2 small)
- Cilantro, fresh, chopped: 30g (about 1 cup packed)
- Lime Juice, fresh: 45ml (about 3 tablespoons)
- Olive Oil: 30ml (about 2 tablespoons)
- Cumin, ground: 3g (about 1 teaspoon)
- Chili Powder: 2g (about 0.5 teaspoon)
- Salt: 3g (about 0.5 teaspoon)
- Black Pepper: 1g (about 0.25 teaspoon)
Instructions:
- Rinse quinoa in a fine-mesh sieve.
- Combine quinoa and vegetable broth (or water) in a saucepan. Bring to a boil, then reduce heat, cover, and simmer for 15 minutes, or until quinoa is cooked and liquid is absorbed. Fluff with a fork. Let cool slightly.
- In a large bowl, combine cooked quinoa, black beans, corn, red bell pepper, red onion, and cilantro.
- In a small bowl, whisk together lime juice, olive oil, cumin, chili powder, salt, and pepper.
- Pour dressing over quinoa mixture and toss to combine.
- Divide quinoa salad evenly into meal prep containers.
- Refrigerate until ready to eat.
Portion and Pack Your Containers
The final step is to portion your cooked food into your meal prep containers and pack them efficiently:
- Portion According to Your Needs: Use your pre-portioned meal prep containers to divide your cooked food into appropriate serving sizes. Consider your calorie goals and dietary needs when portioning.
- Cool Food Before Sealing: Allow cooked food to cool down to room temperature before sealing the containers and placing them in the refrigerator. This prevents condensation buildup inside the containers, which can affect food quality and safety.
- Layer Ingredients Strategically: If you’re using multi-compartment containers or packing salads, think about layering ingredients to prevent sogginess. For example, put salad dressing at the bottom, followed by hearty vegetables, grains, protein, and leafy greens on top.
- Store Properly in the Refrigerator: Store your filled meal prep containers in the refrigerator at 4°C (40°F) or colder. Refer to food safety guidelines for recommended storage times for different types of cooked food.
Beyond the Basics: Advanced Meal Prep Container Tips & Tricks
Freezing Meals for Long-Term Storage
- Freeze for Future Weeks: Meal prep containers are excellent for freezing meals for longer-term storage. This is perfect for those weeks when you are even busier, or if you want to build up a freezer stash of healthy meals.
- Choose Freezer-Friendly Meals: Not all meals freeze equally well. Soups, stews, casseroles, and cooked grains generally freeze very well. Salads with leafy greens and mayonnaise-based dressings don’t freeze as well. Experiment to see what works best for you.
- Cool Completely Before Freezing: Ensure meals are completely cooled before placing them in freezer-safe meal prep containers and transferring them to the freezer. This helps maintain food quality and prevents ice crystal formation.
- Thaw Safely: Thaw frozen meals overnight in the refrigerator for best results. You can also microwave thaw them if you’re in a hurry, but be sure to reheat them thoroughly to a safe internal temperature.
Creative Meal Prep Container Ideas (Beyond Lunch & Dinner)
- Breakfast Bliss: Meal prep containers aren’t just for lunch and dinner! Prepare breakfast ahead of time for busy mornings:
- Overnight Oats: Combine oats, milk (dairy or non-dairy), yogurt, chia seeds, and your favorite toppings in meal prep containers for grab-and-go breakfasts.
- Breakfast Burritos: Make a batch of breakfast burritos with eggs, beans, cheese, and veggies, wrap them individually, and freeze them in meal prep containers.
- Yogurt Parfaits: Layer yogurt, granola, and fruit in meal prep containers for a quick and healthy breakfast or snack.
Recipe Idea Example: Overnight Oats with Berries and Nuts (Breakfast Meal Prep)
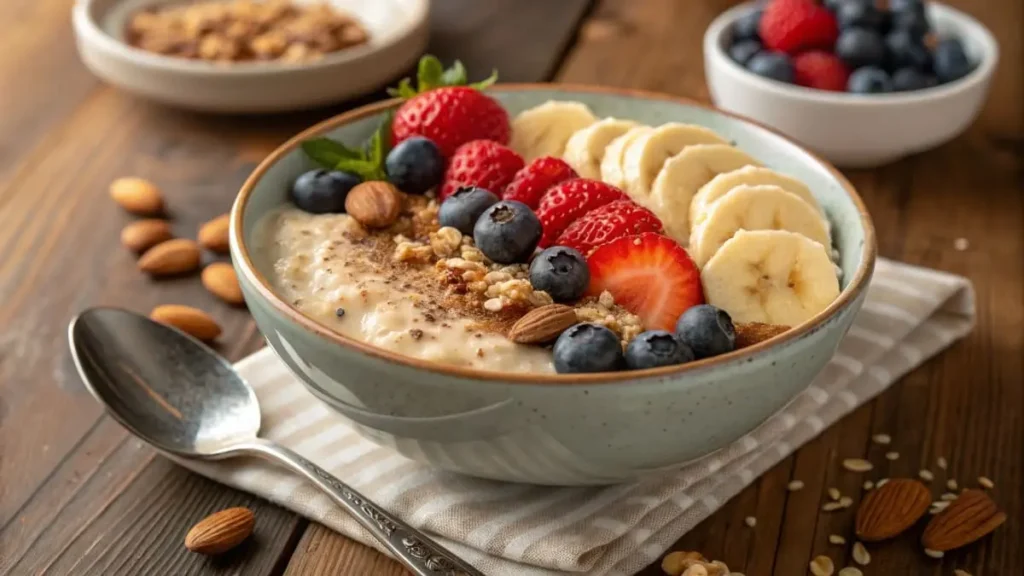
This simple overnight oats recipe is perfect for a quick and healthy breakfast. Measurements are approximate and can be adjusted to your preference.
Ingredients (per serving):
- Rolled Oats: 40g (about 1/2 cup)
- Milk (dairy or non-dairy): 120ml (about 1/2 cup)
- Yogurt (Greek or regular): 100g (about 1/3 cup)
- Chia Seeds: 5g (about 1 teaspoon)
- Berries, fresh or frozen: 50g (about 1/4 cup)
- Nuts, chopped: 15g (about 1 tablespoon)
- Optional Sweetener (maple syrup, honey, etc.): to taste
Instructions:
- In a meal prep container (jar or container with a lid), combine rolled oats, milk, yogurt, and chia seeds.
- Stir well to combine.
- Top with berries and nuts.
- Seal the container and refrigerate overnight (or for at least 2-3 hours).
- Enjoy cold straight from the container. You can add a touch of sweetener if desired before eating.
- Snack Smart: Avoid unhealthy vending machine snacks by prepping healthy snacks in meal prep containers:
- Veggie Sticks and Hummus: Pack carrot sticks, celery sticks, cucumber slices, and hummus in small meal prep containers.
- Fruit and Nut Packs: Combine your favorite fruits (grapes, apple slices, berries) with a portion of nuts or seeds in containers for a balanced snack.
- Hard-Boiled Eggs: Boil a batch of eggs and store them in meal prep containers for a protein-packed snack.
Keeping Your Meal Prep Containers Clean & Organized
- Wash Immediately (or Soak): To prevent food from drying and sticking, rinse your meal prep containers as soon as possible after use. If you can’t wash them right away, soak them in warm, soapy water.
- Dishwasher is Your Friend: If your containers are dishwasher-safe, take advantage of it! The dishwasher is great for sanitizing and thorough cleaning, especially for plastic containers that can sometimes retain odors.
- Remove Stains and Odors: For stubborn stains or odors, try these methods:
- Baking Soda Paste: Make a paste of baking soda and water and scrub the affected areas.
- Lemon Juice: Rub lemon juice on stains and let them sit in the sun for a while.
- Vinegar Soak: Soak containers in a solution of white vinegar and water to help remove odors.
- Organize Your Container Storage: Keep your meal prep containers and lids organized to avoid kitchen cabinet chaos. Store containers nested together by size, and lids neatly stacked or in a separate bin. Drawer dividers or container organizers can be helpful.
FAQ: Your Top Questions About Meal Prep Containers Answered
- Q: What are the best meal prep containers for beginners?
- A: For beginners, BPA-free plastic meal prep containers are a great starting point. They are affordable, lightweight, and come in various sizes. Start with a set of single and two-compartment containers to experiment with different meal types.
- Q: How long do prepped meals last in meal prep containers?
- A: Generally, properly prepared and stored meals in meal prep containers will last for 3-4 days in the refrigerator at 4°C (40°F) or colder. Some meals, like vegetarian dishes or those with cooked grains, may last slightly longer. Always follow food safety guidelines and use your best judgment. If in doubt, throw it out!
- Q: Can I microwave food in all meal prep containers?
- A: No, not all meal prep containers are microwave-safe. Glass containers are generally microwave-safe, and some BPA-free plastics are labeled as microwave-safe. Stainless steel containers are NOT microwave-safe. Always check the manufacturer’s instructions or look for microwave-safe symbols on the container before microwaving.
- Q: How do I prevent my meal prep containers from smelling like food?
- A: To prevent odors, wash your meal prep containers promptly after use. For lingering odors, try soaking containers in a solution of baking soda and water or white vinegar and water. Storing containers with a crumpled piece of newspaper inside can also help absorb odors.
- Q: Are glass or plastic meal prep containers better?
- A: “Better” depends on your needs and priorities. Glass meal prep containers are more sustainable, non-reactive, and microwave/oven-safe. Plastic meal prep containers are more affordable, lightweight, and less breakable. Consider the pros and cons of each material and choose what best suits your lifestyle and budget.
Conclusion: Embrace the Meal Prep Container Lifestyle for a Healthier, Happier You

Meal prep containers are more than just food storage; they are a powerful tool for transforming your eating habits and simplifying your life. From taking control of your nutrition and saving valuable time to reducing food waste and making eco-conscious choices, the benefits are undeniable.
By embracing the meal prep container lifestyle, you’re investing in your health, your well-being, and your precious time. Take the first step – choose some containers, plan a few simple meals, and experience the positive impact for yourself. You might be surprised at how much these simple containers can change your life for the better, leading you to a healthier, happier, and more organized one.
